Three Creative Ways to Add a Touch of Love to Your Gifts This Year
Written and Photographed by: Naomi Ito
Finding the perfect way to wrap a gift can make the moment even more special. Adding a thoughtful touch, elevates the presentation and shows that extra bit of care. This creative wrapping idea is perfect for this holiday season, or any occasion where you want to give not only a gift, but also a heartfelt message or a beautiful decorative element. These simple yet unique wrapping technique allows you to create a memorable gift presentation that goes beyond the usual.
Technique #1: A Gift Wrap with a Pocket for a Card or a Small Keepsake
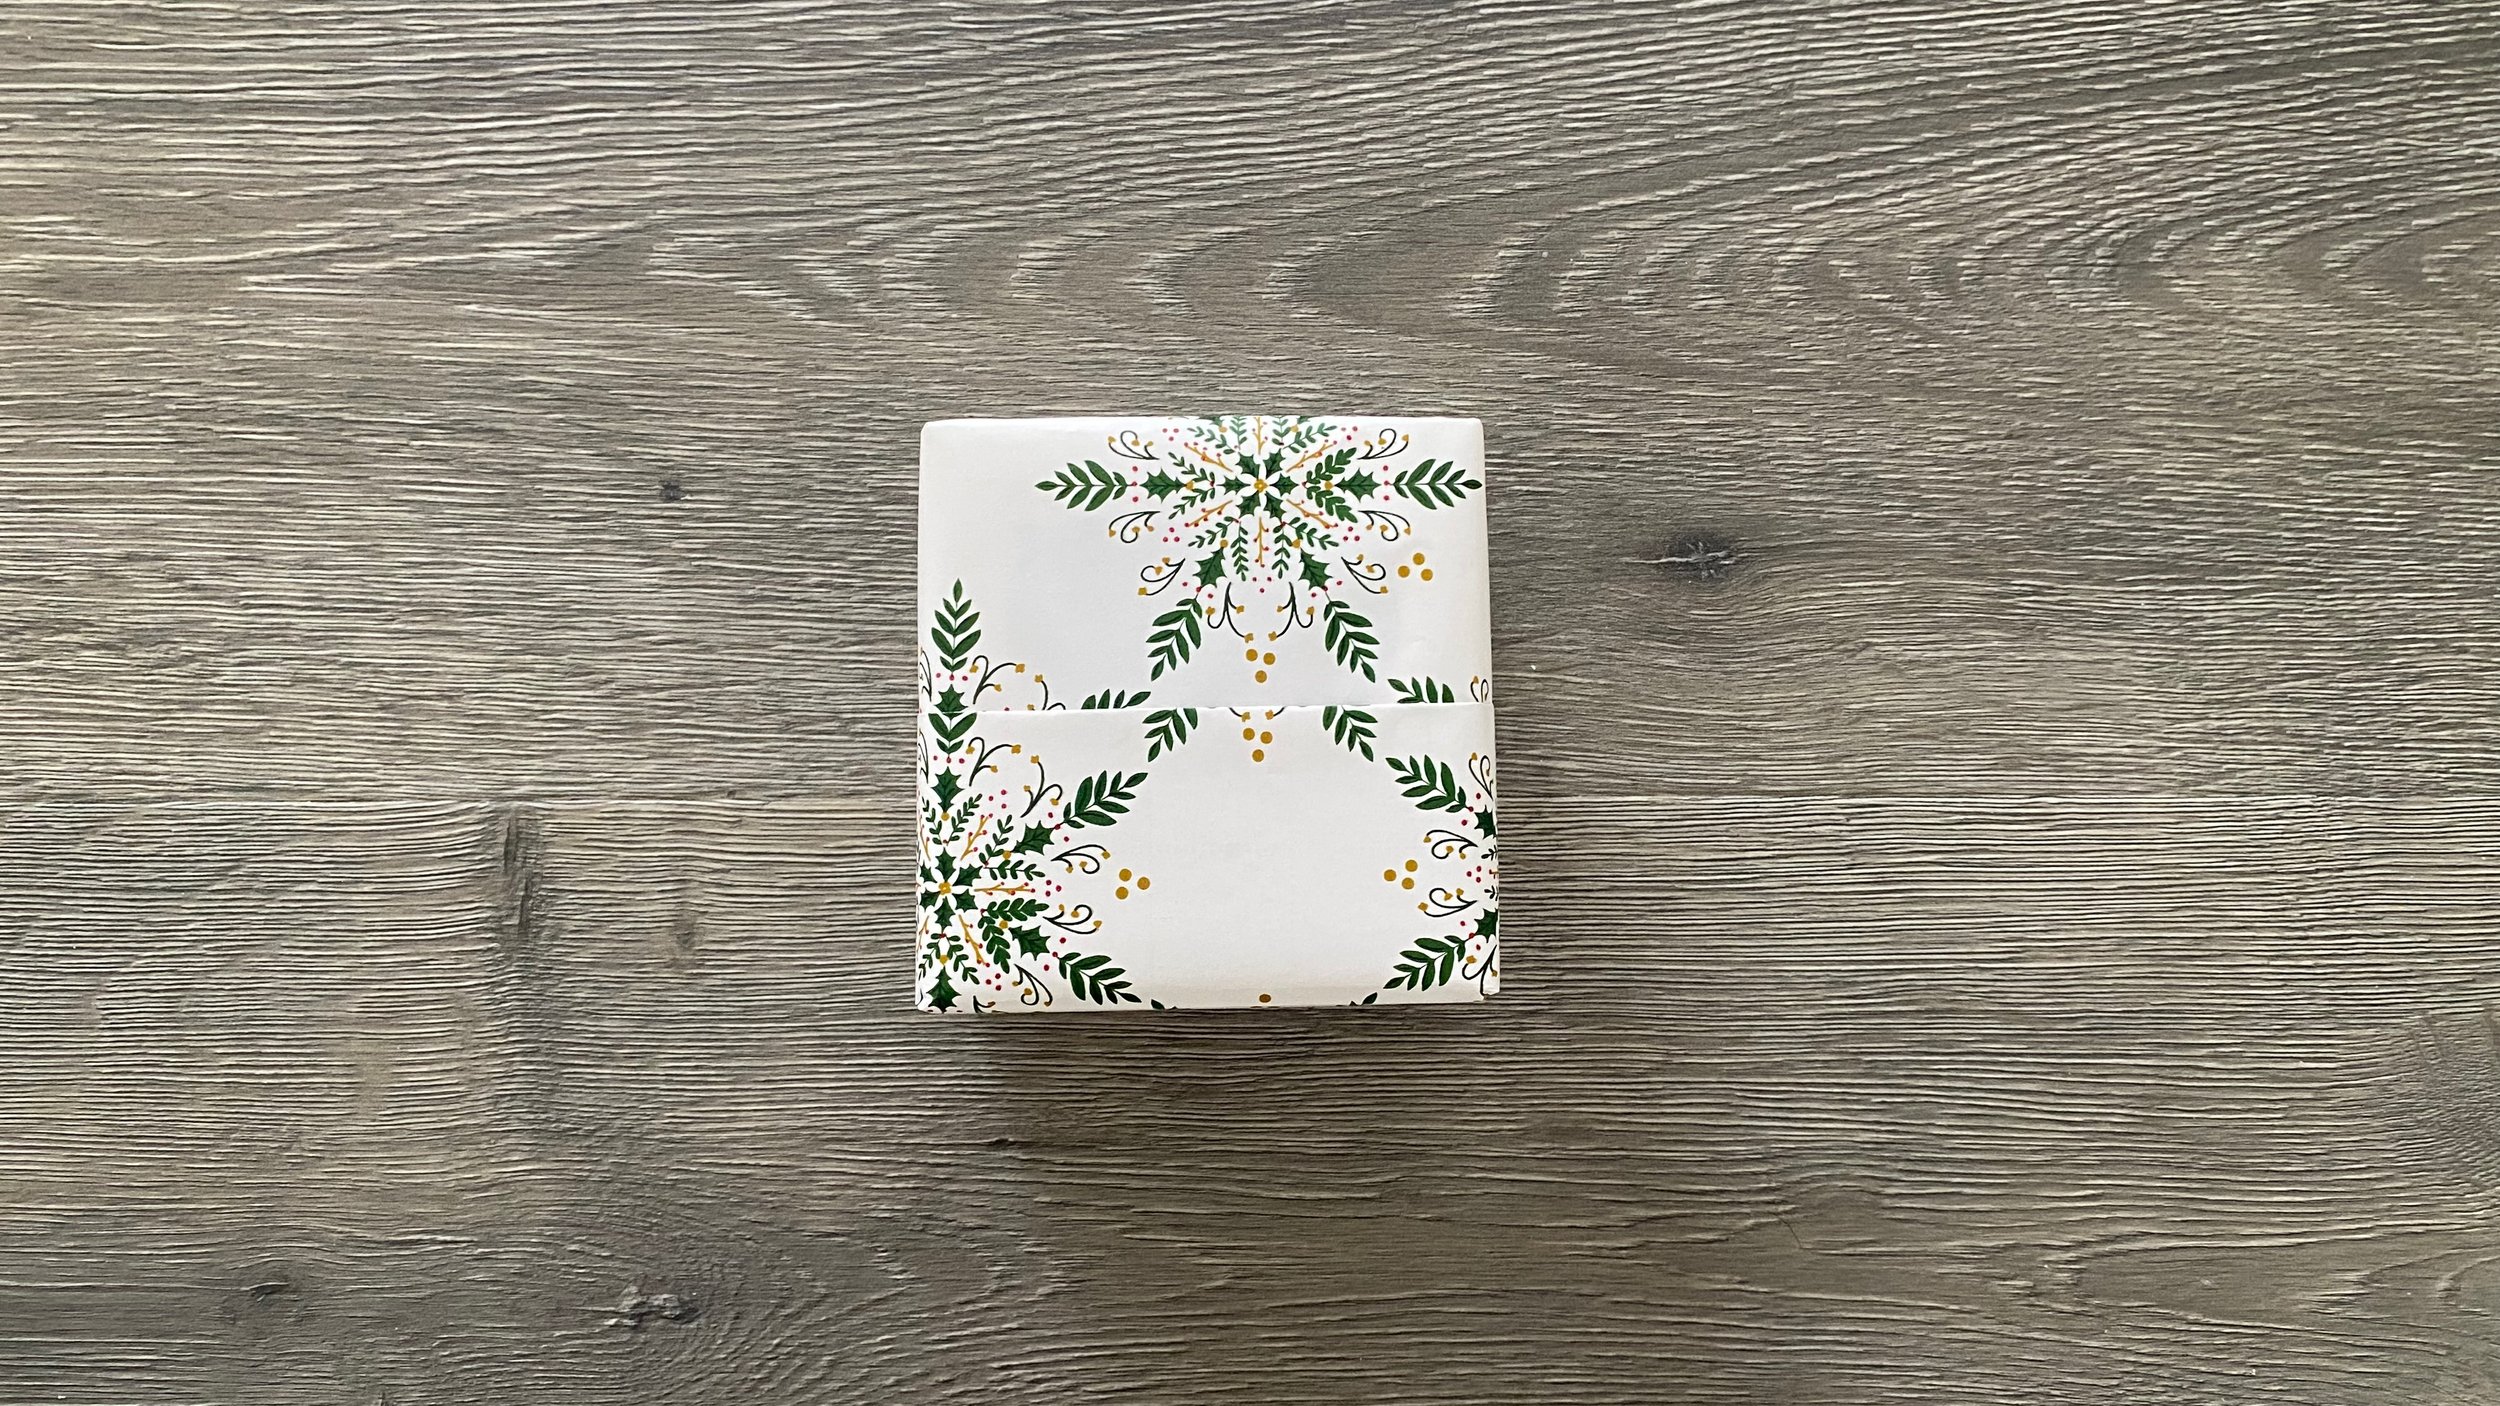
By simply modifying the classic box wrap with a pocket, you can easily attach a personalized message, a small bouquet, or even a pinecone for a rustic charm.
Materials:
- Wrapping paper
- Scissors
- Tape
- A greeting card
- Optional: Other materials to slide inside the pocket
Steps:
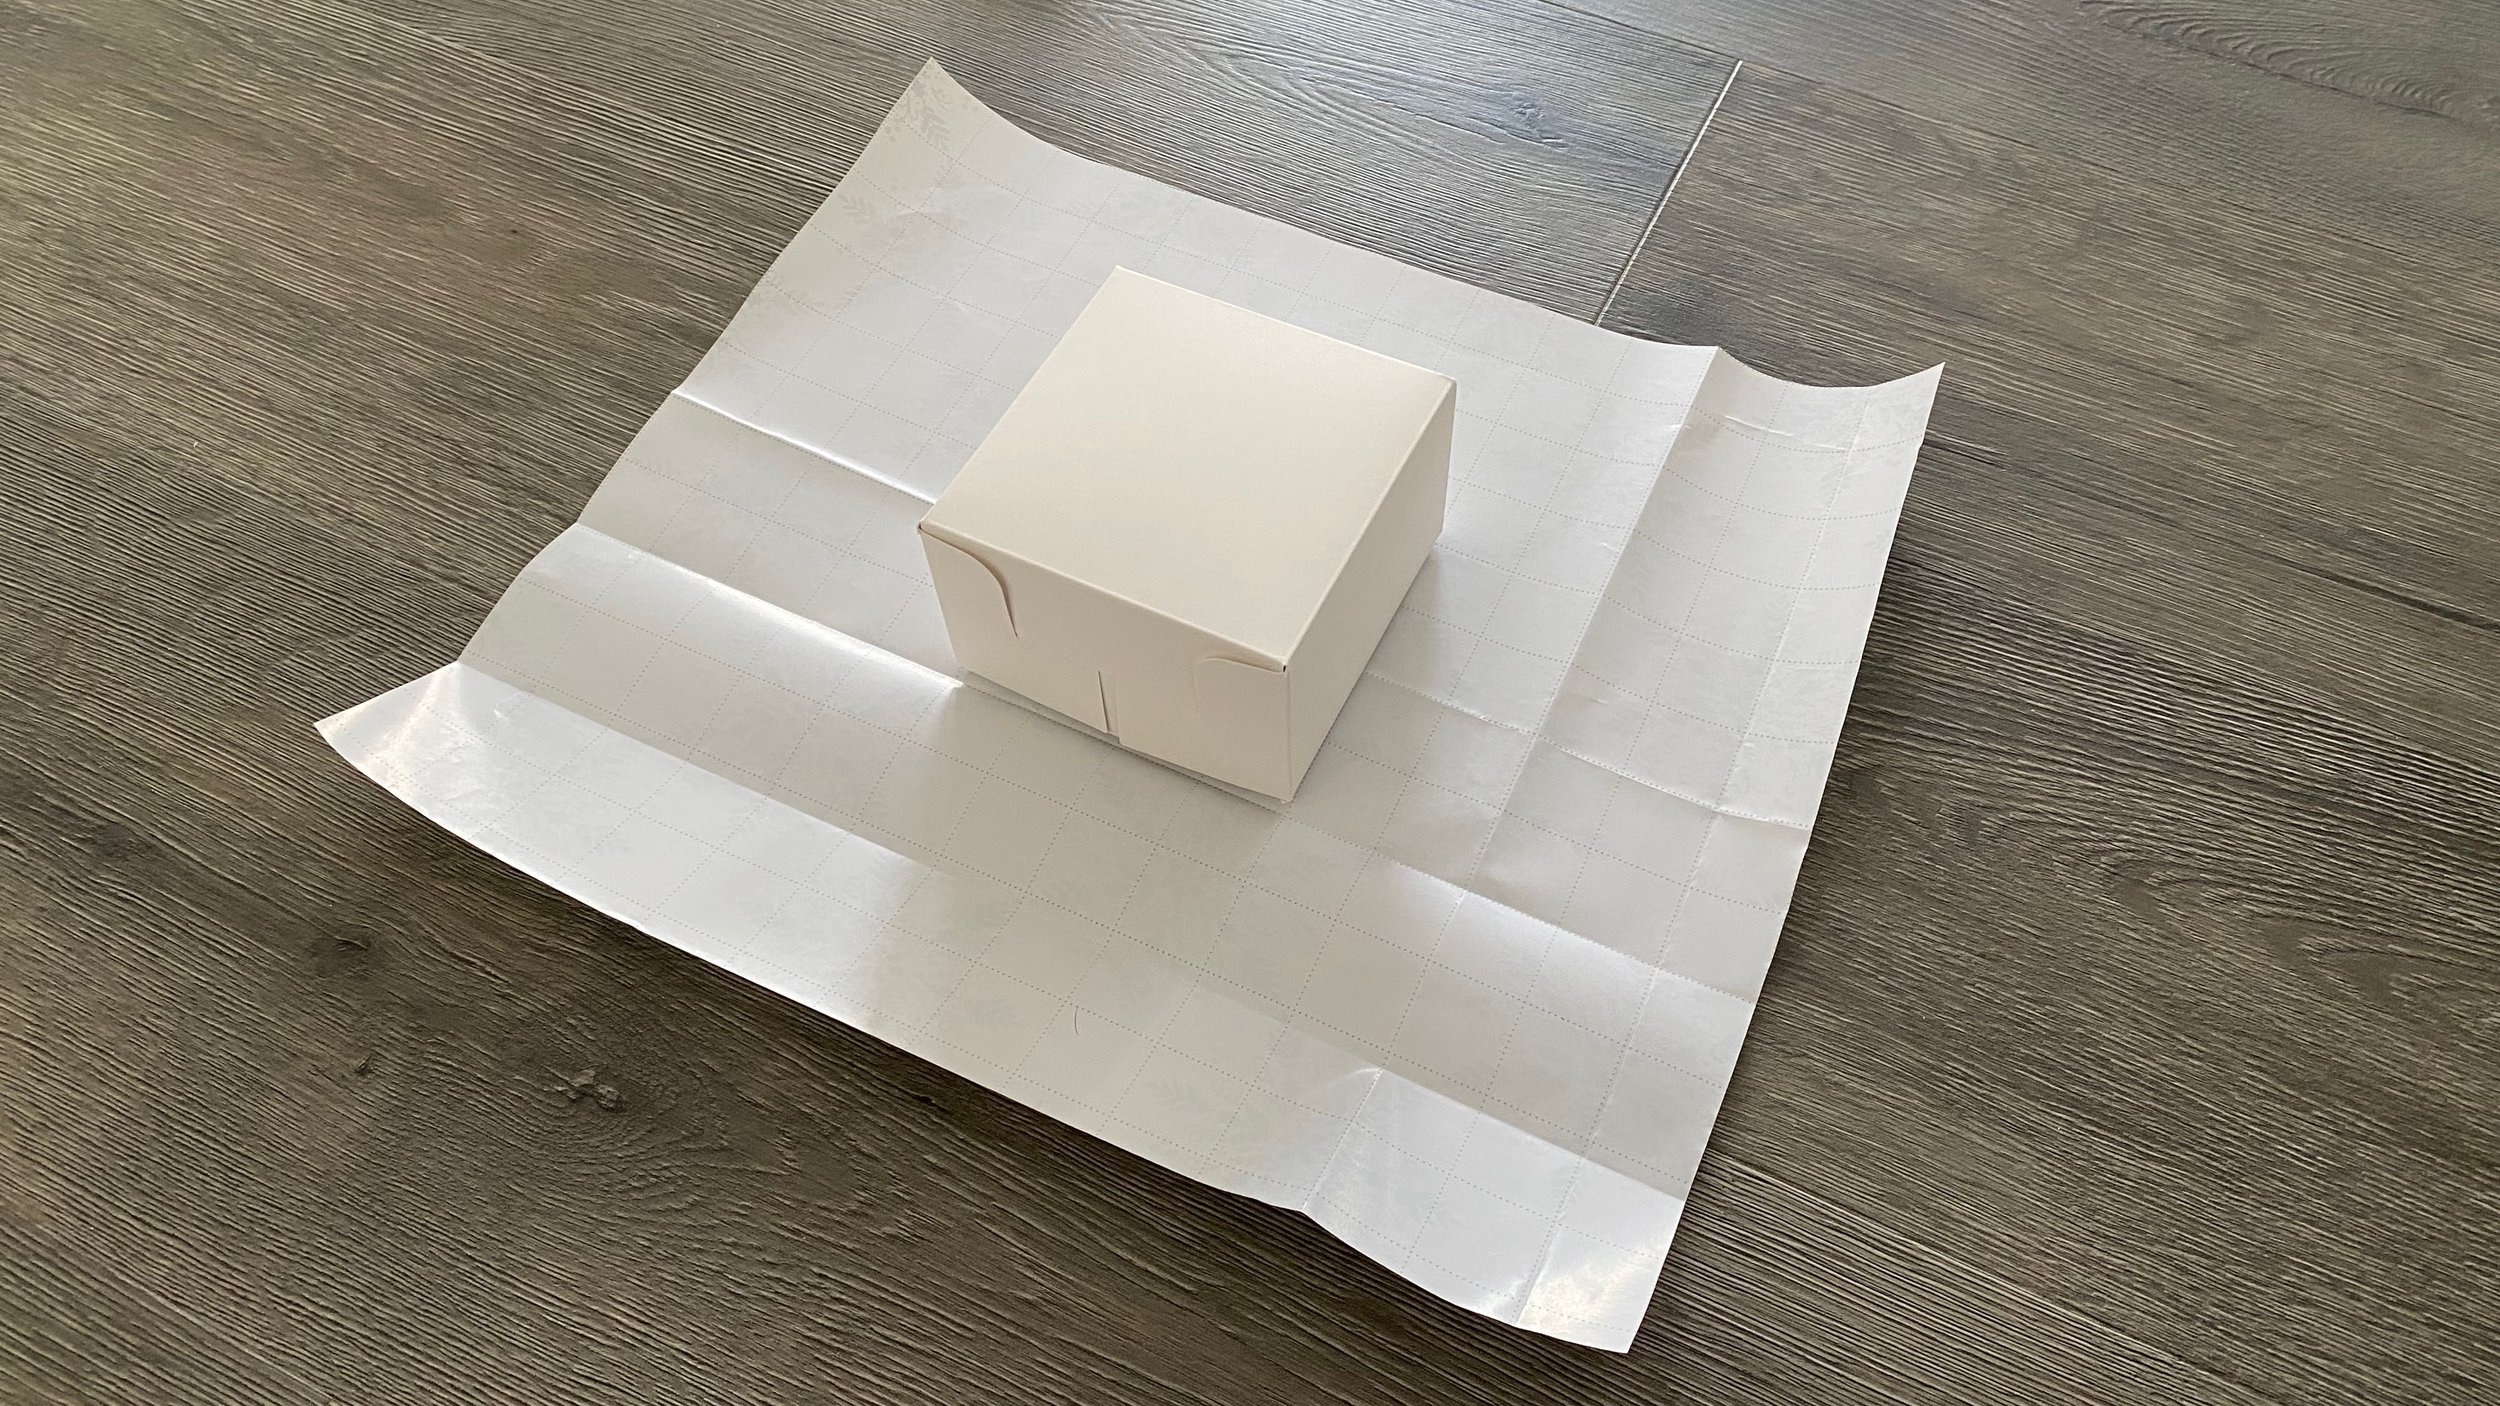
1. Cut the wrapping paper to the size of the box.
The dimensions: Width: Once all around the box plus 1 inch. Height: The height of the box, plus ⅔ of the height of the sides of the box twice, plus 4 inches (for a 2 inch deep pocket).
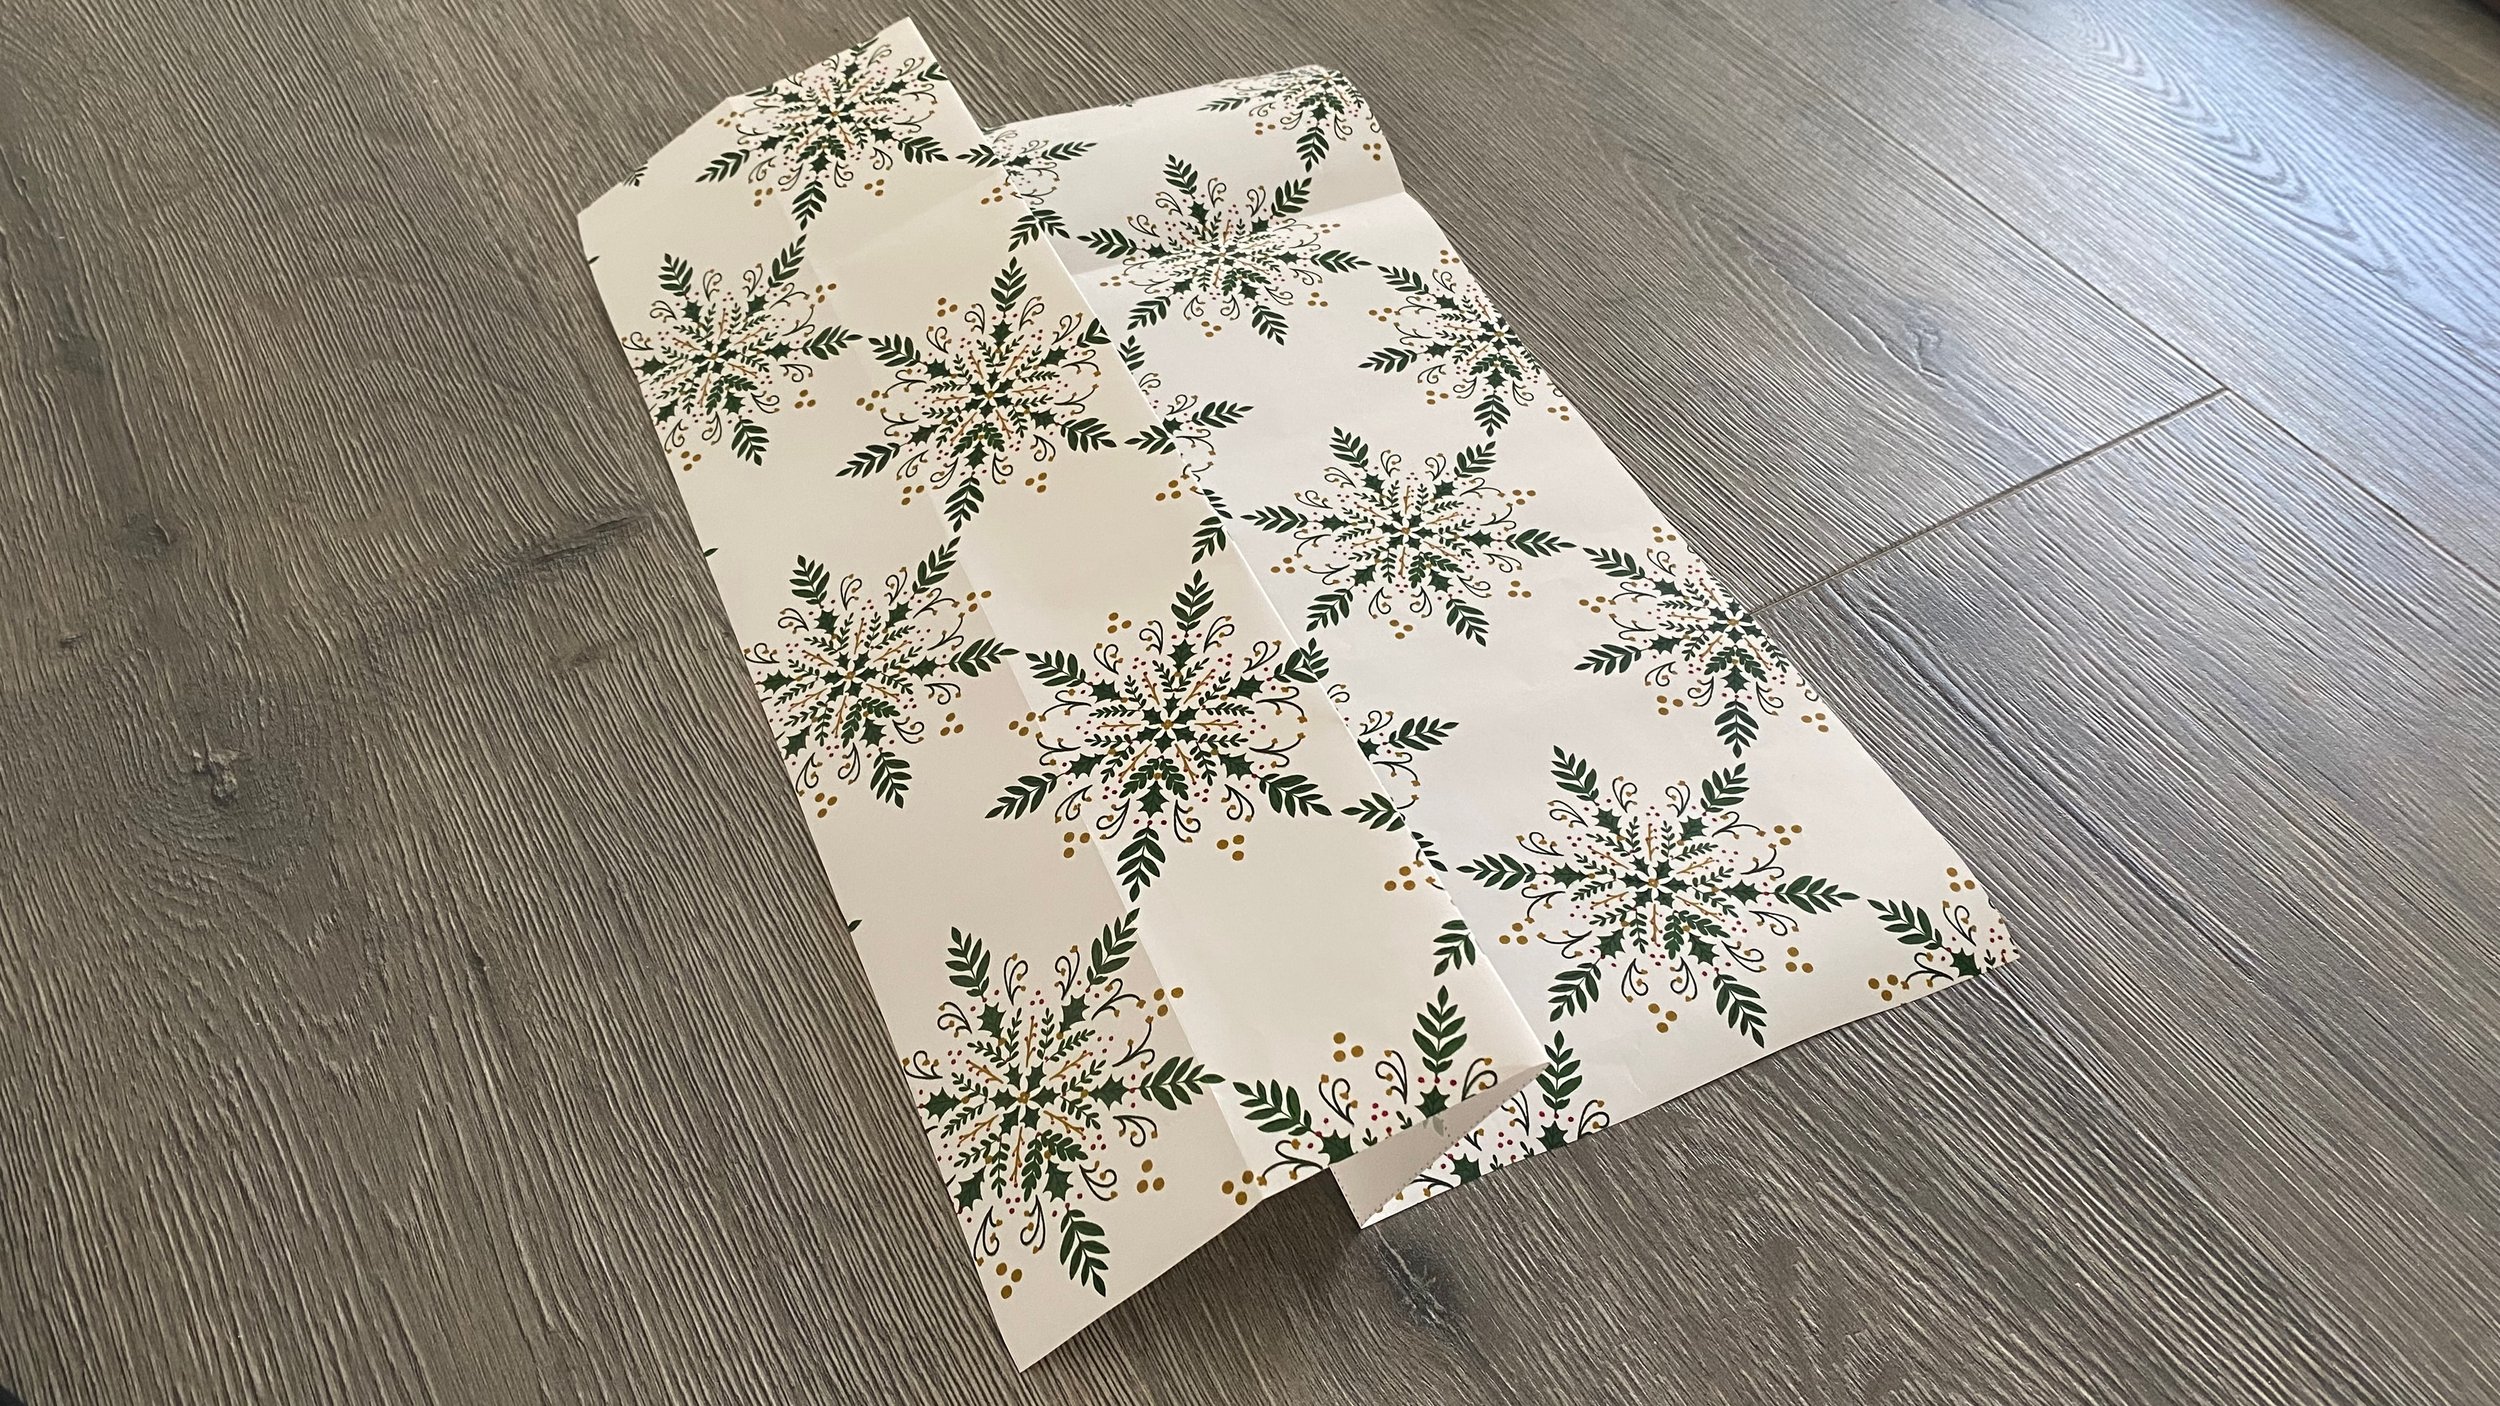
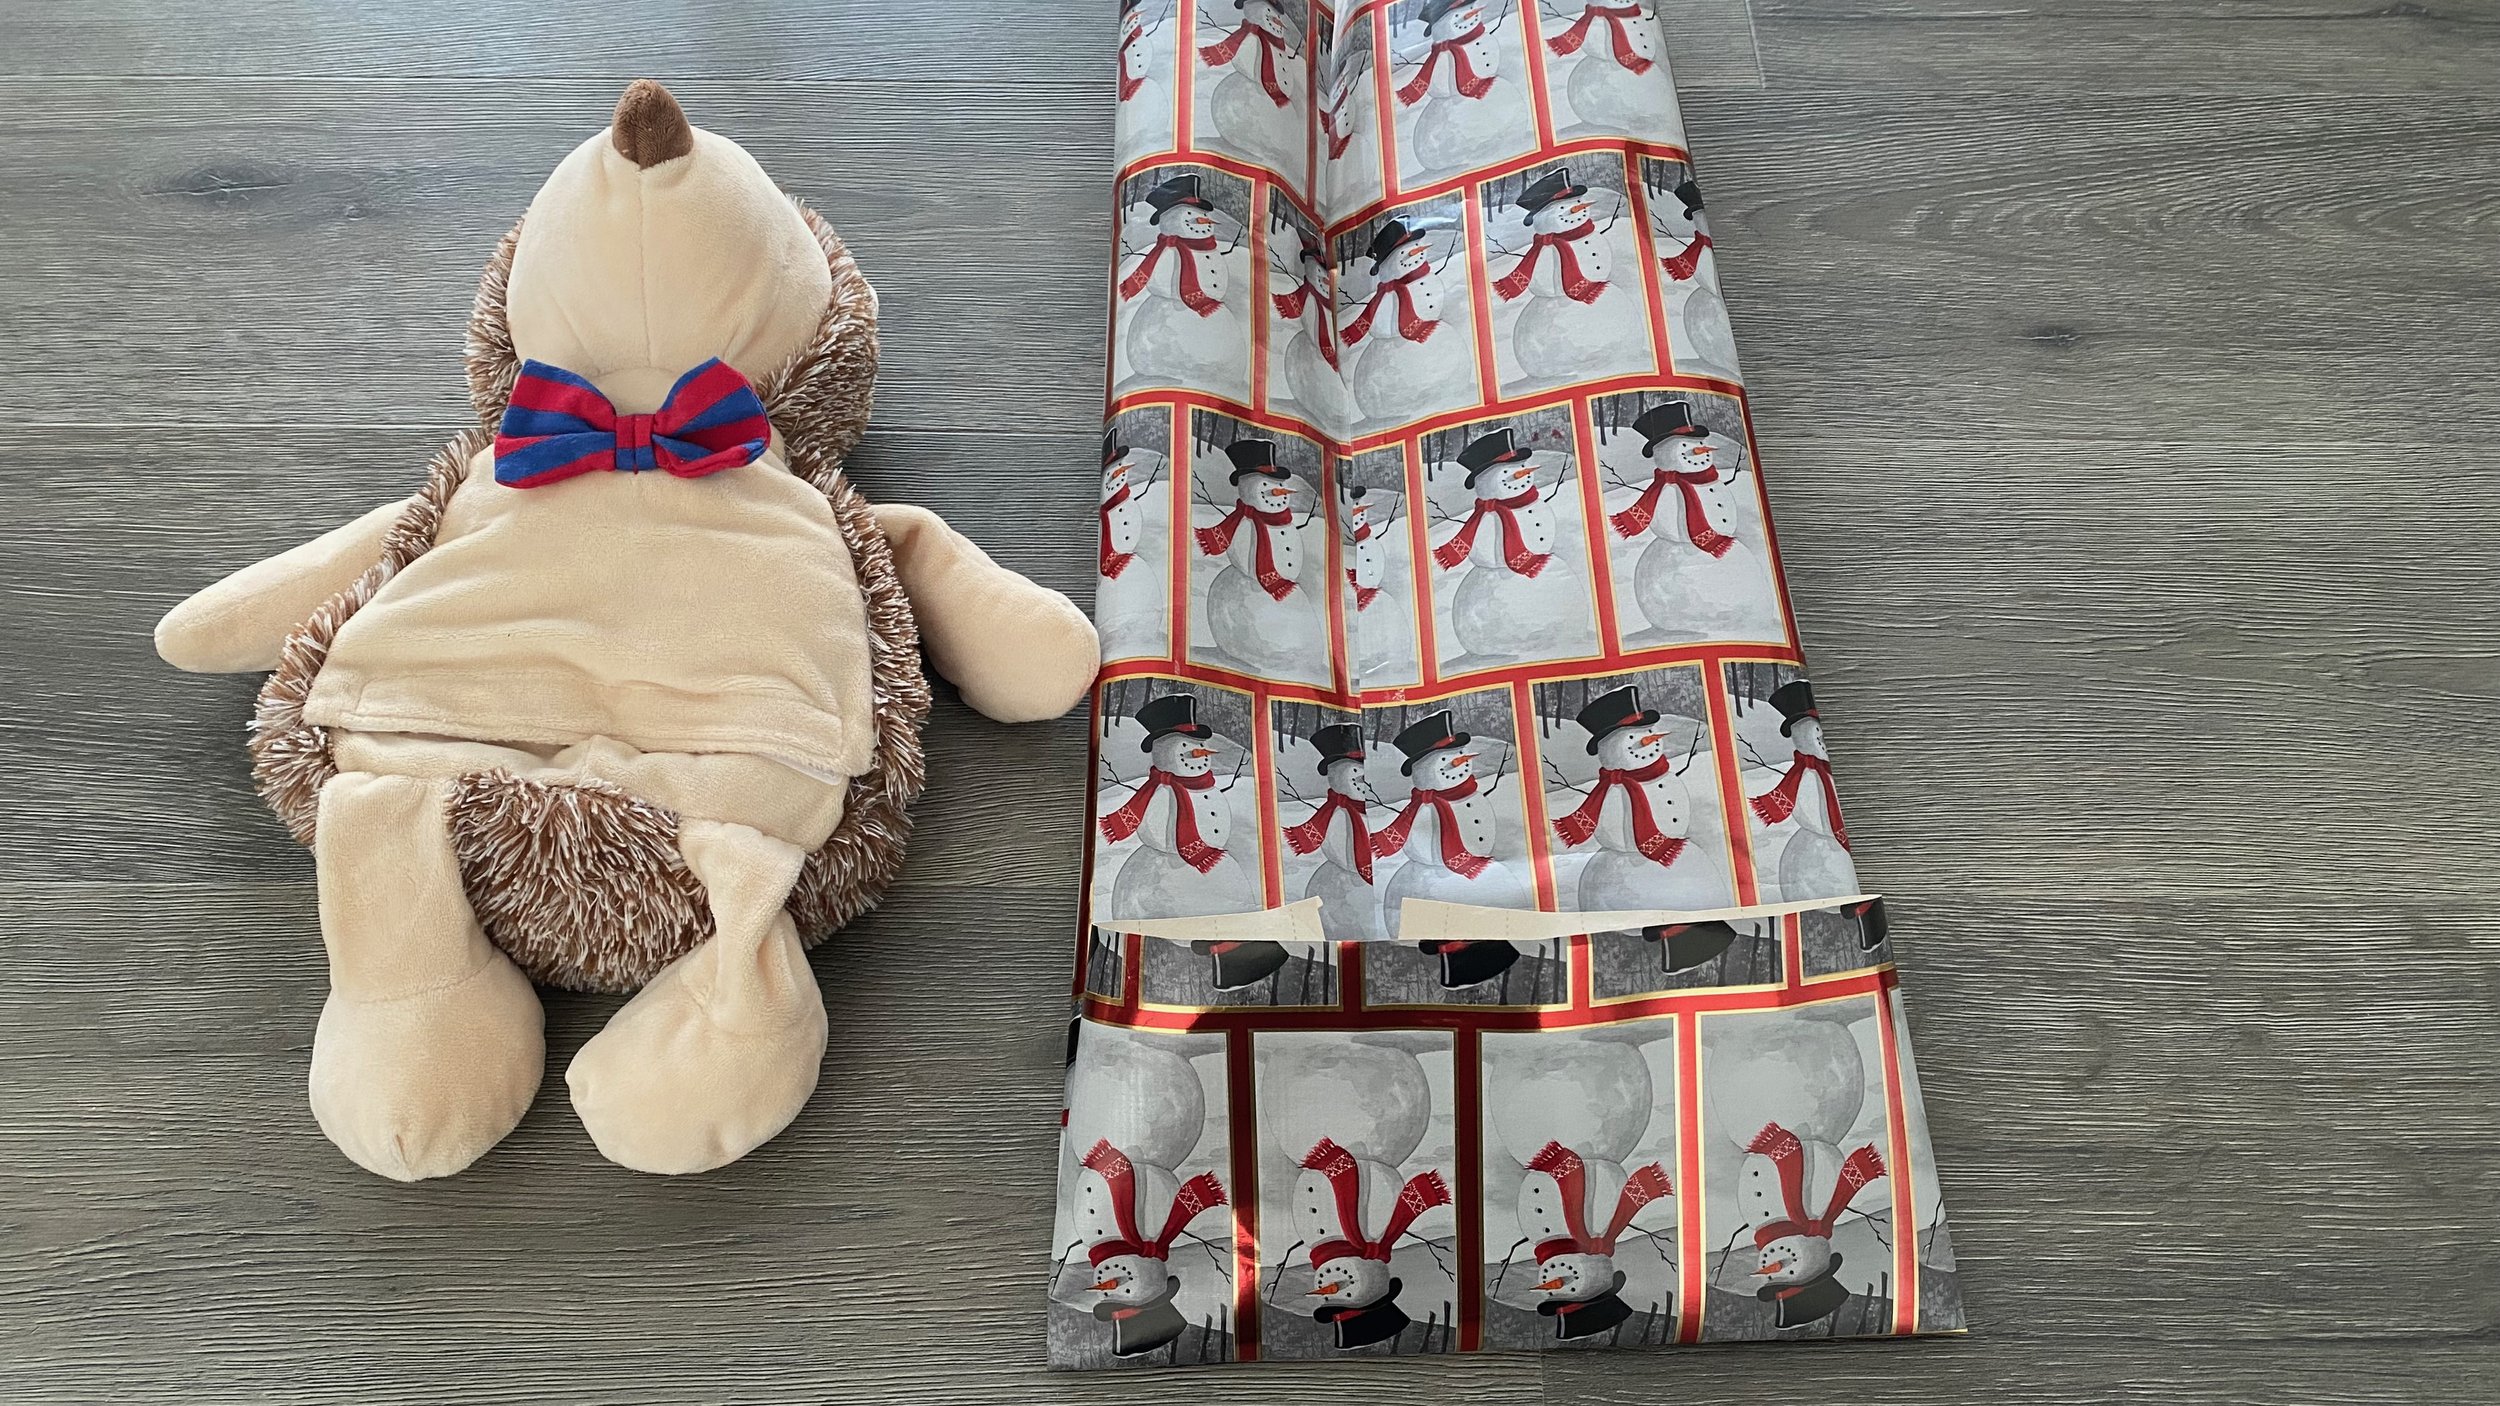
2. Fold up the bottom of the paper to ⅔ of the height of the sides of the box.
3. Fold up 2 inches from the previous fold.
4. Flip it over and fold up 2 more inches from the previous fold.
It should look like a zigzag.
5. Flip it over and place the box at the edge of the fold.
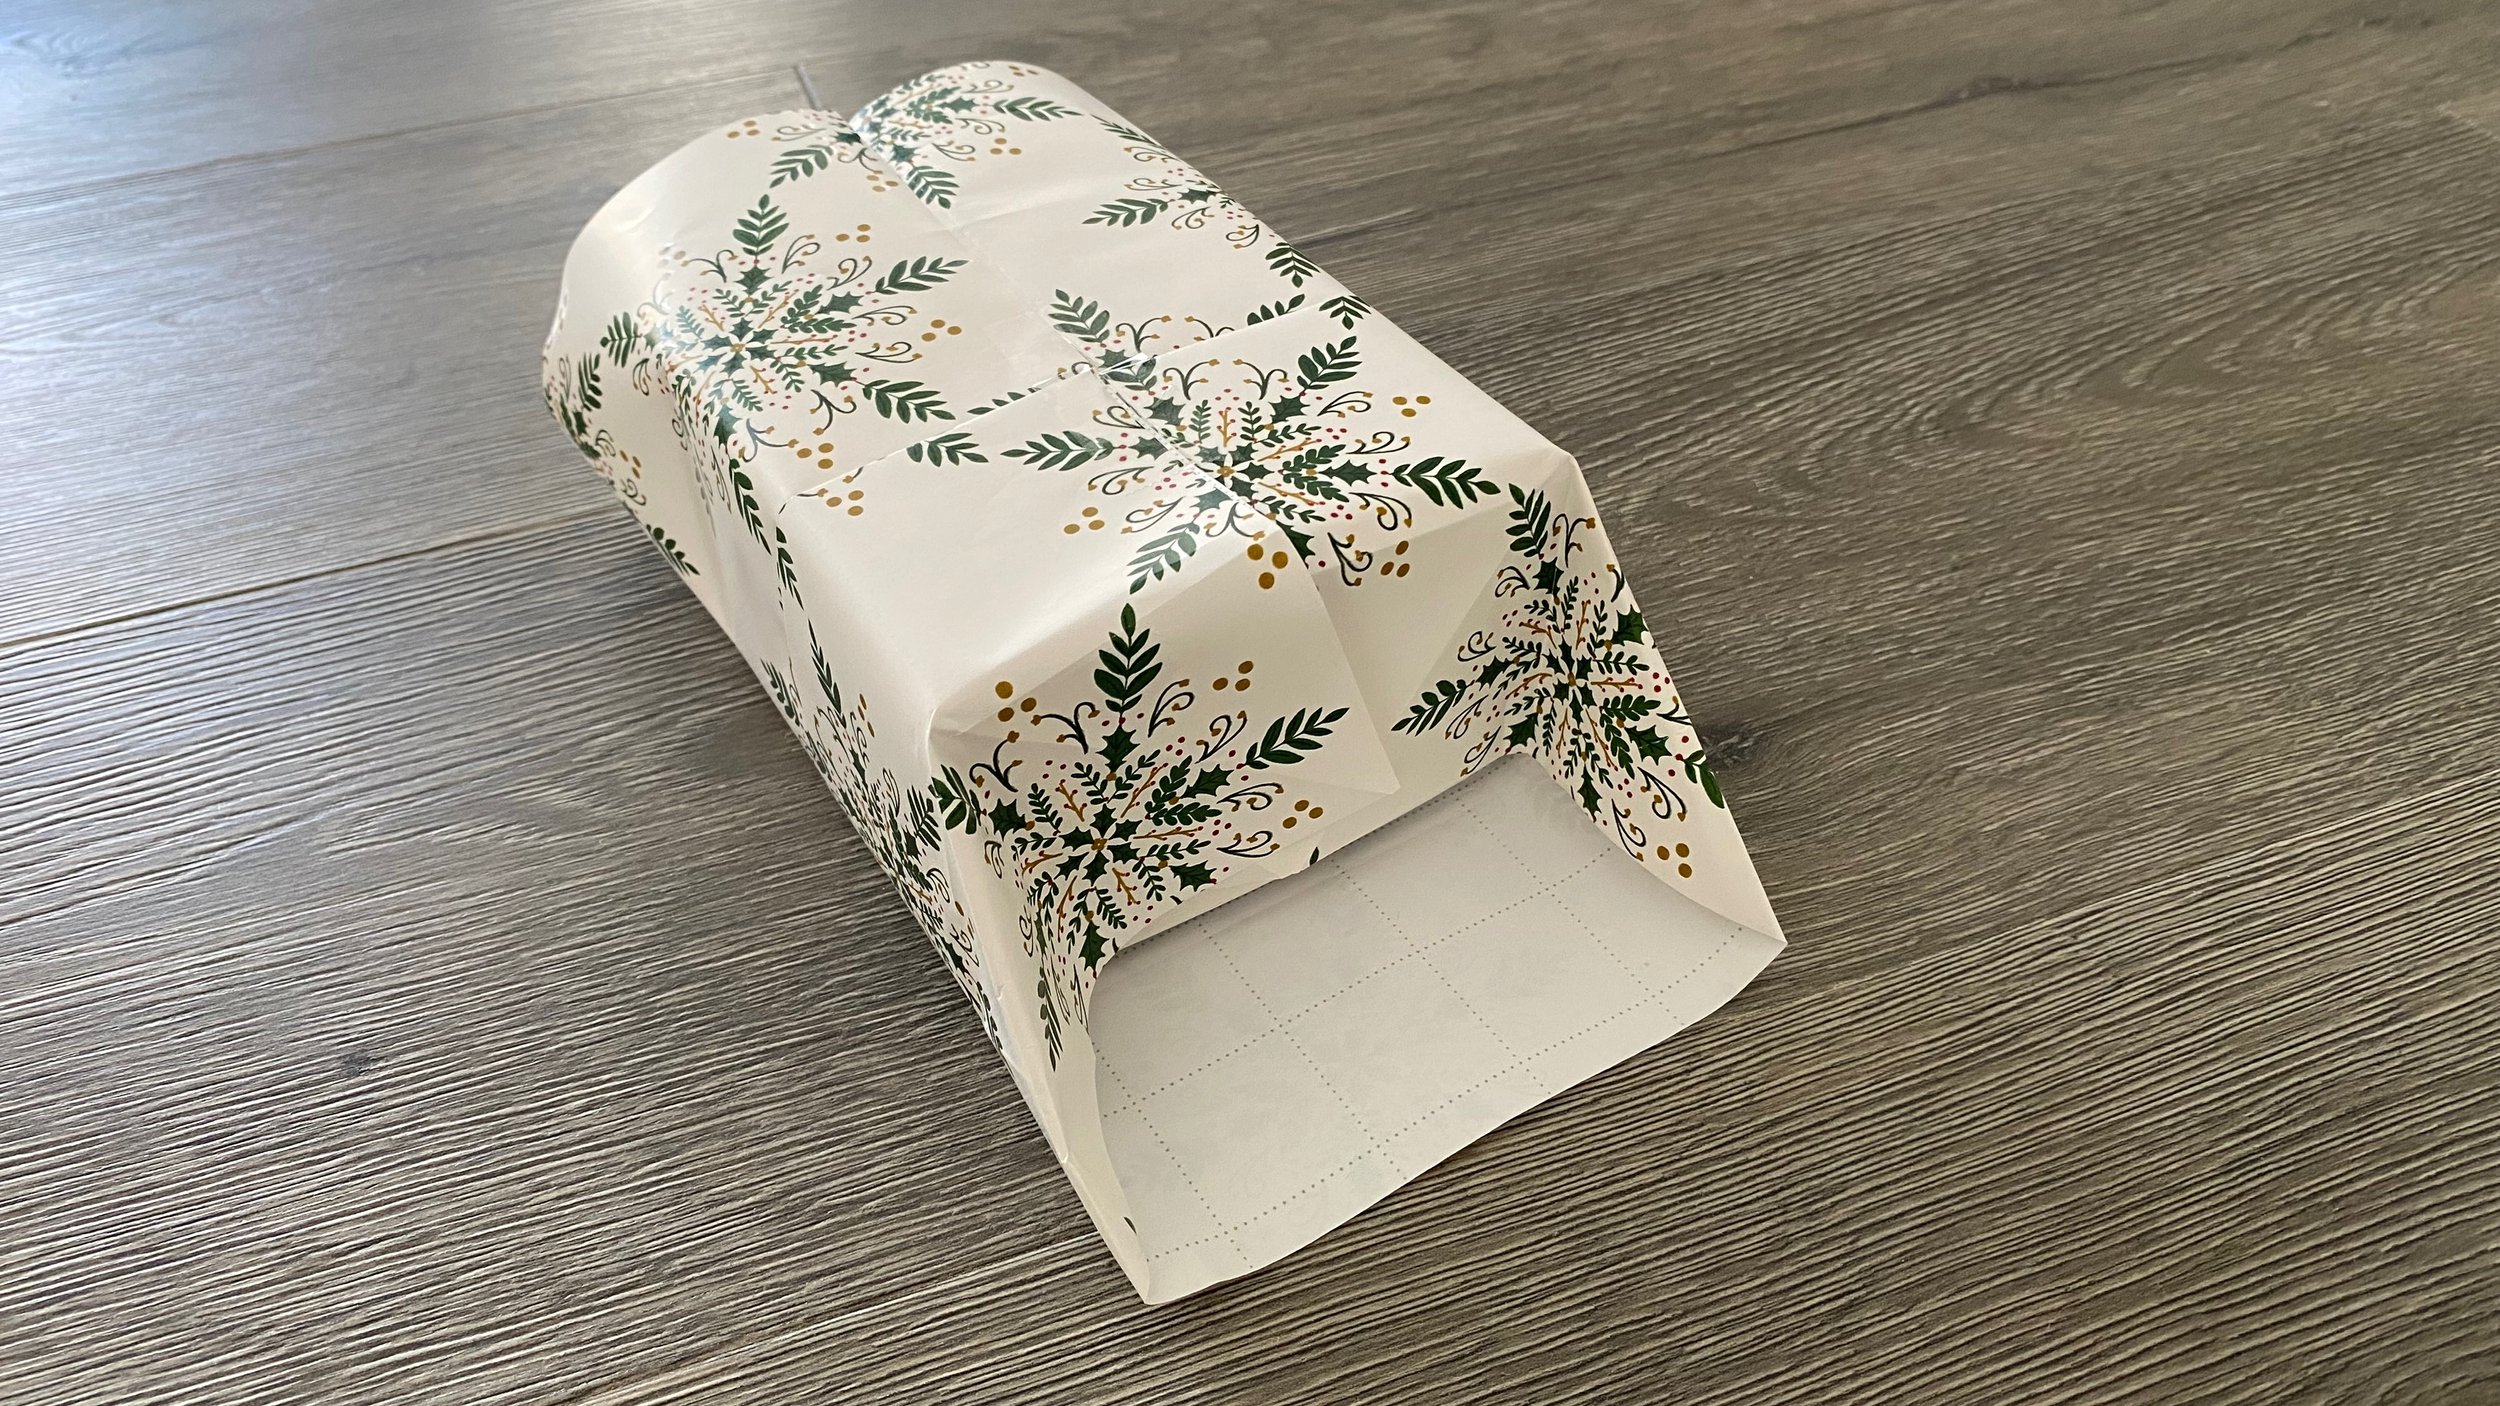
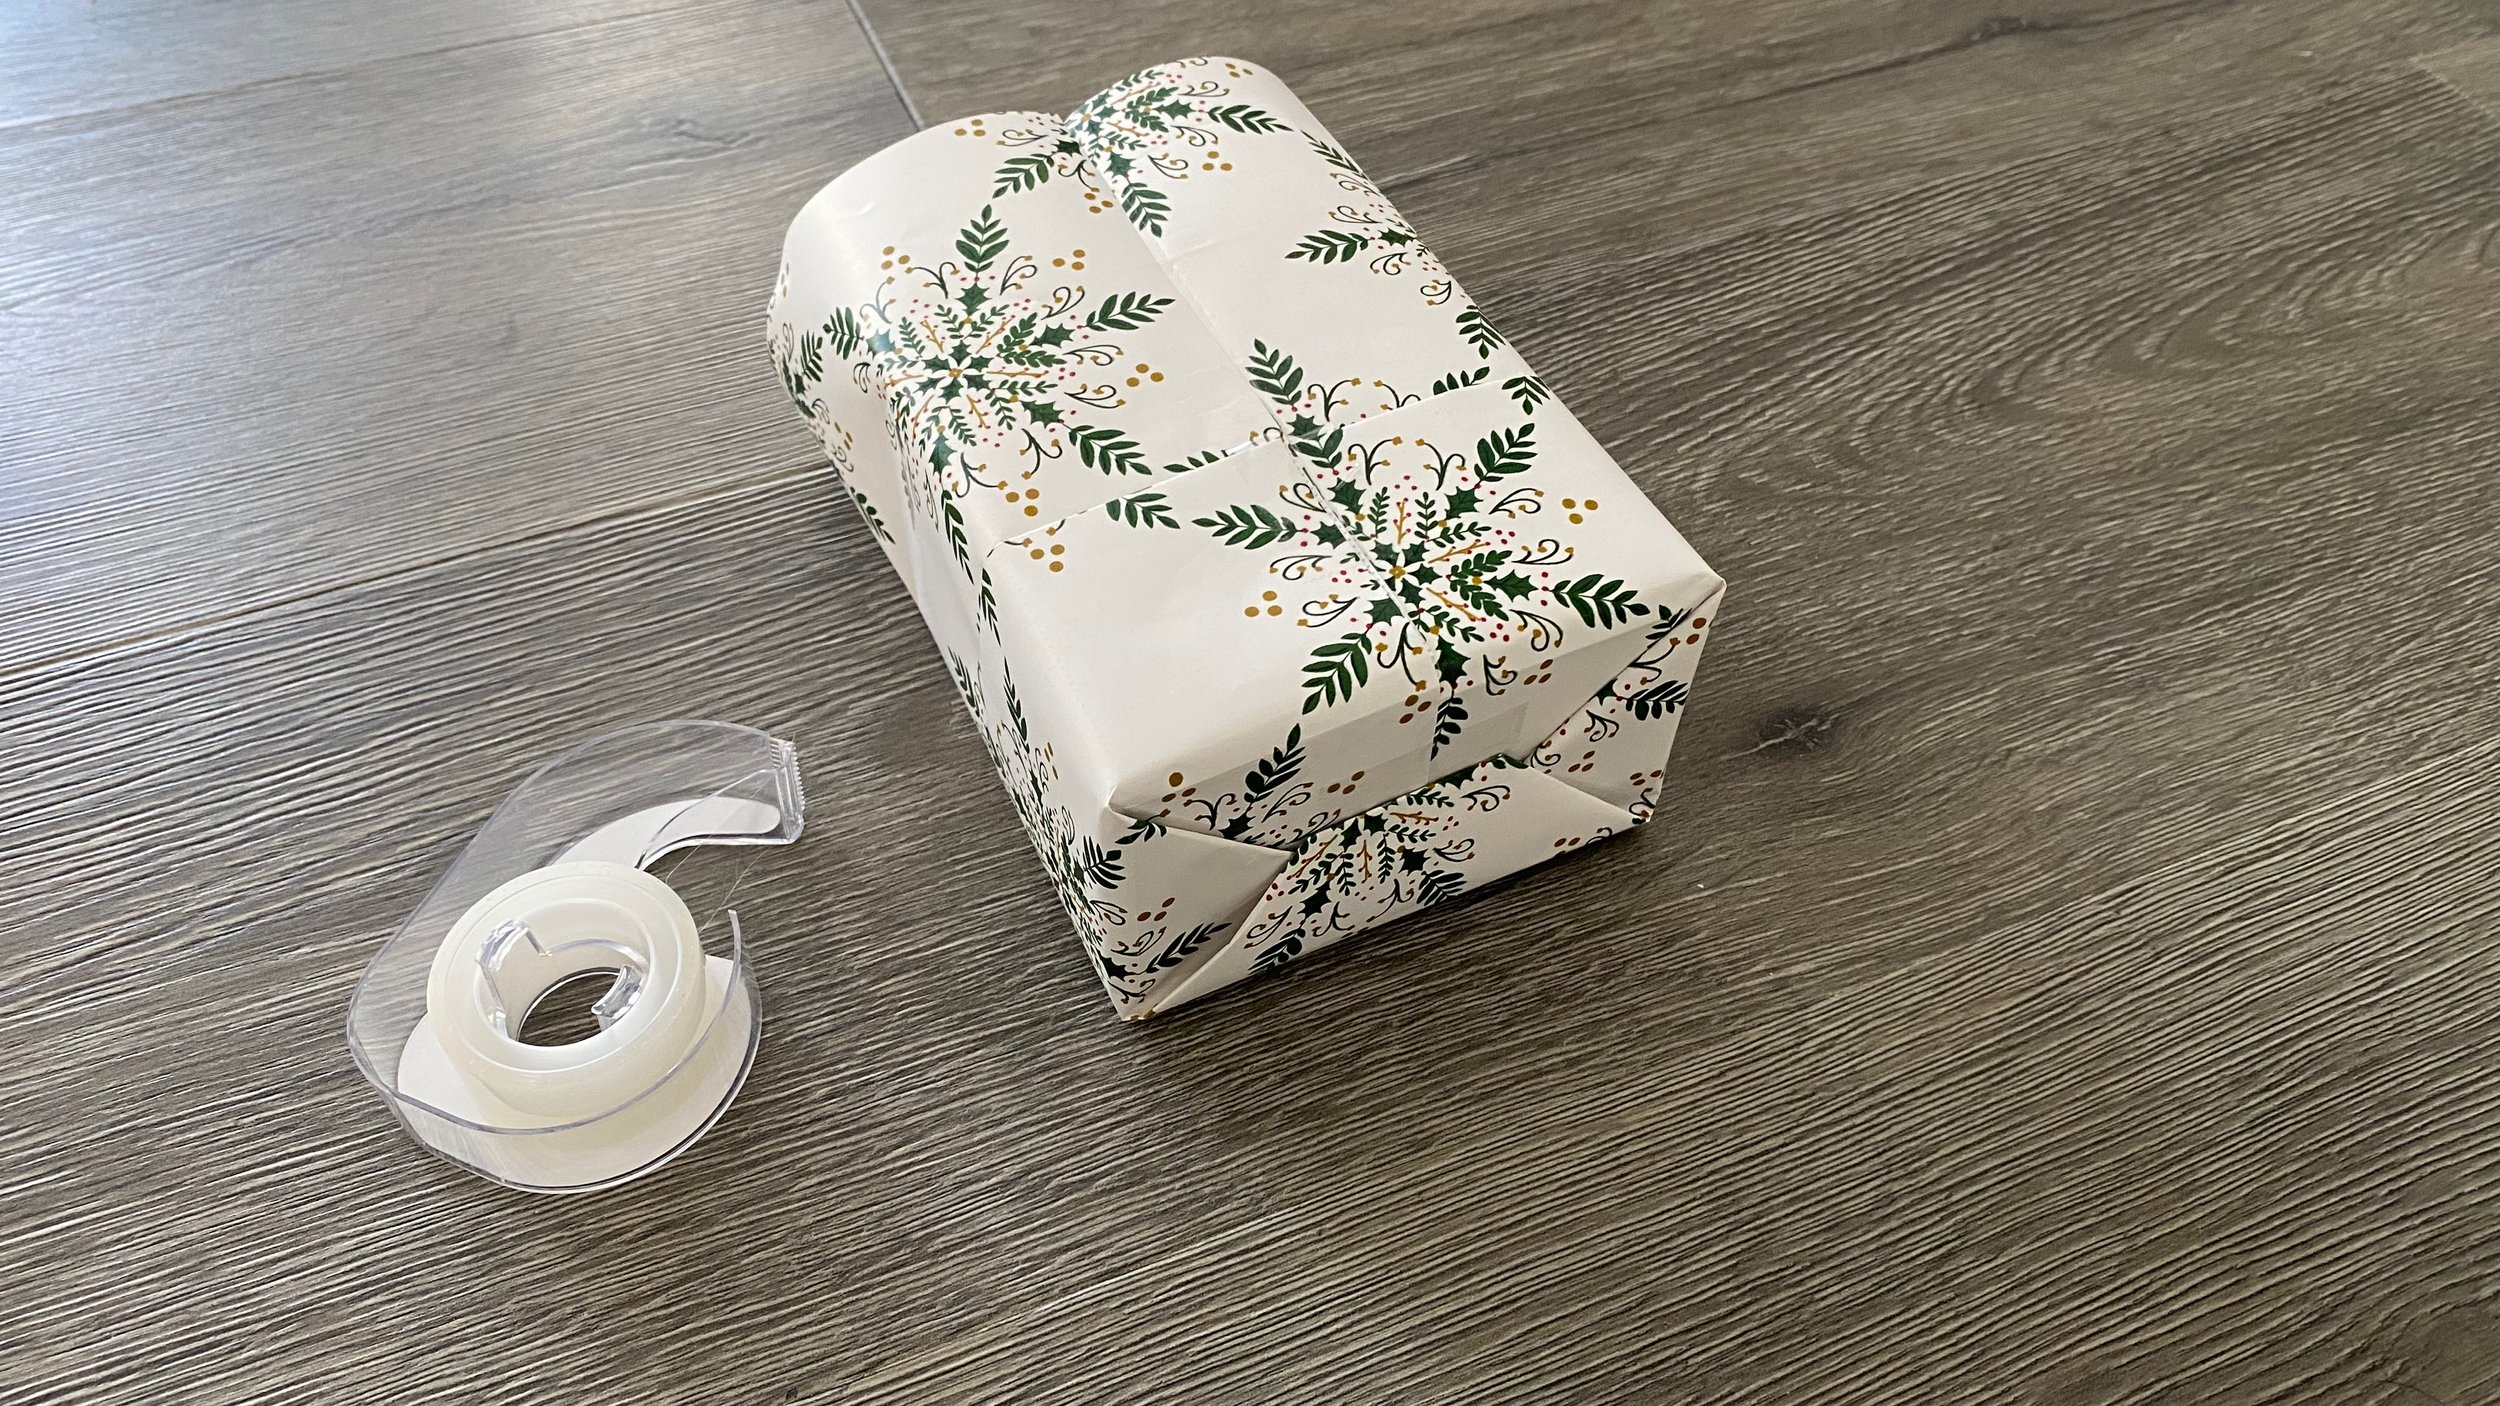
6. Tape the sides together tightly around the box.
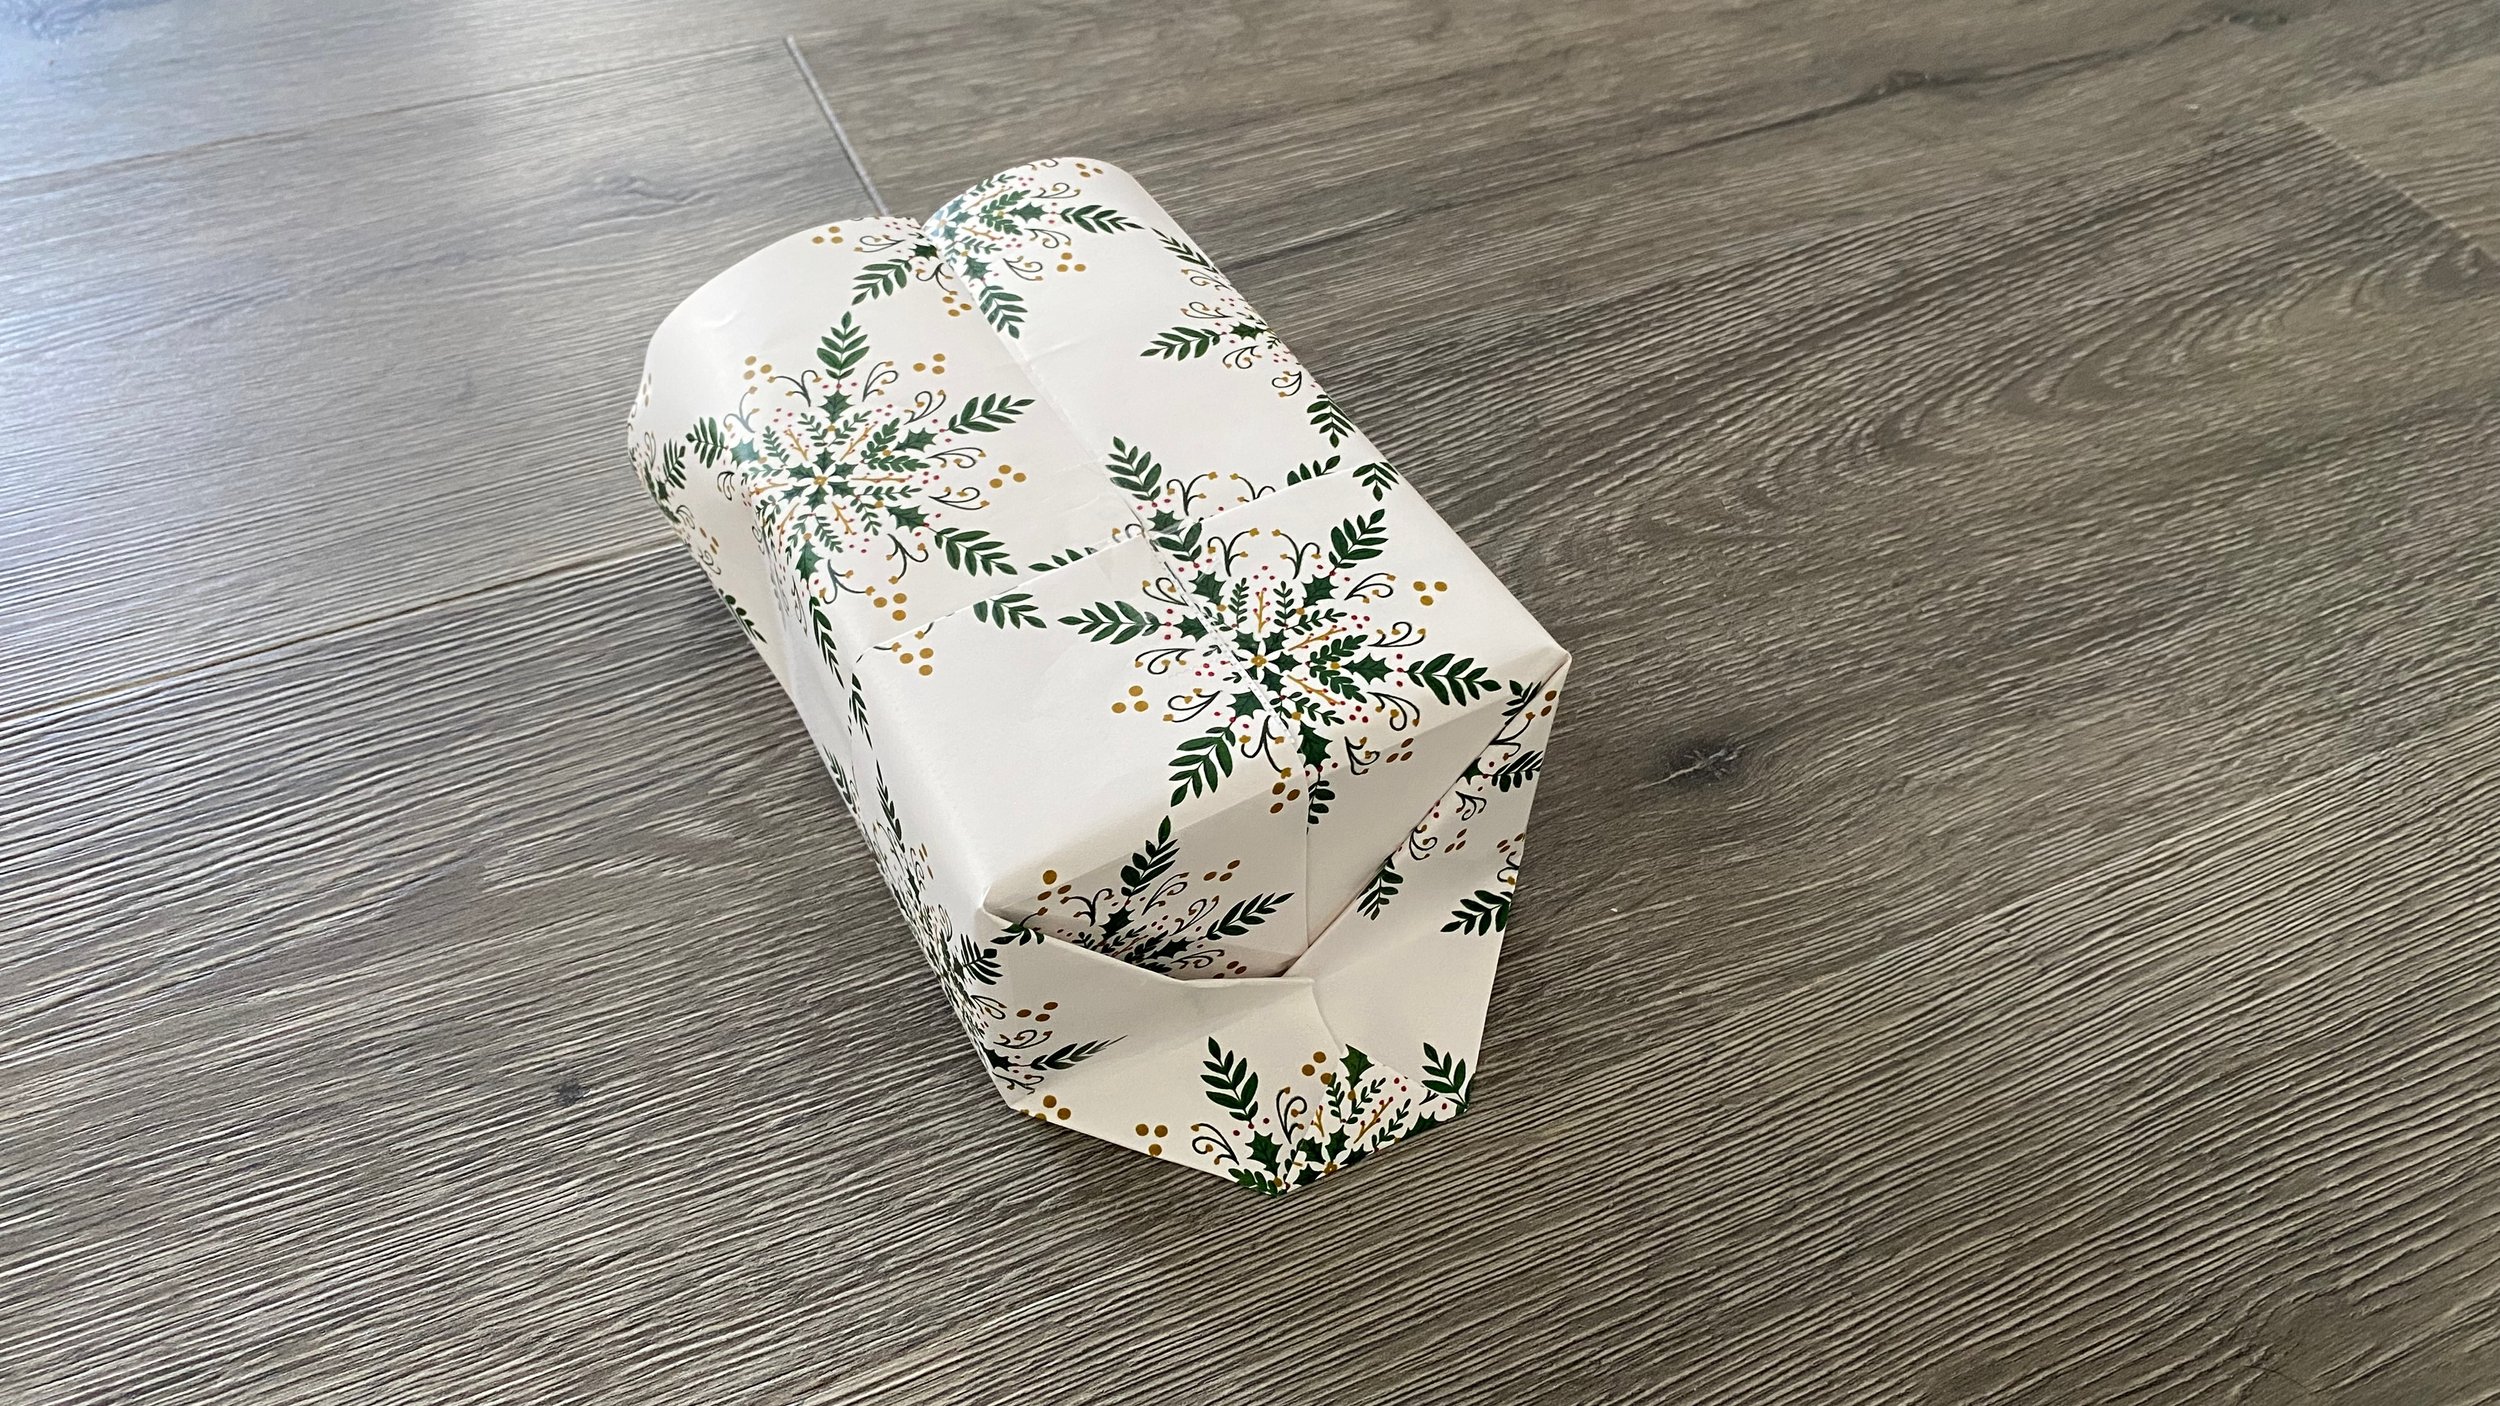
7. Fold down the top first.
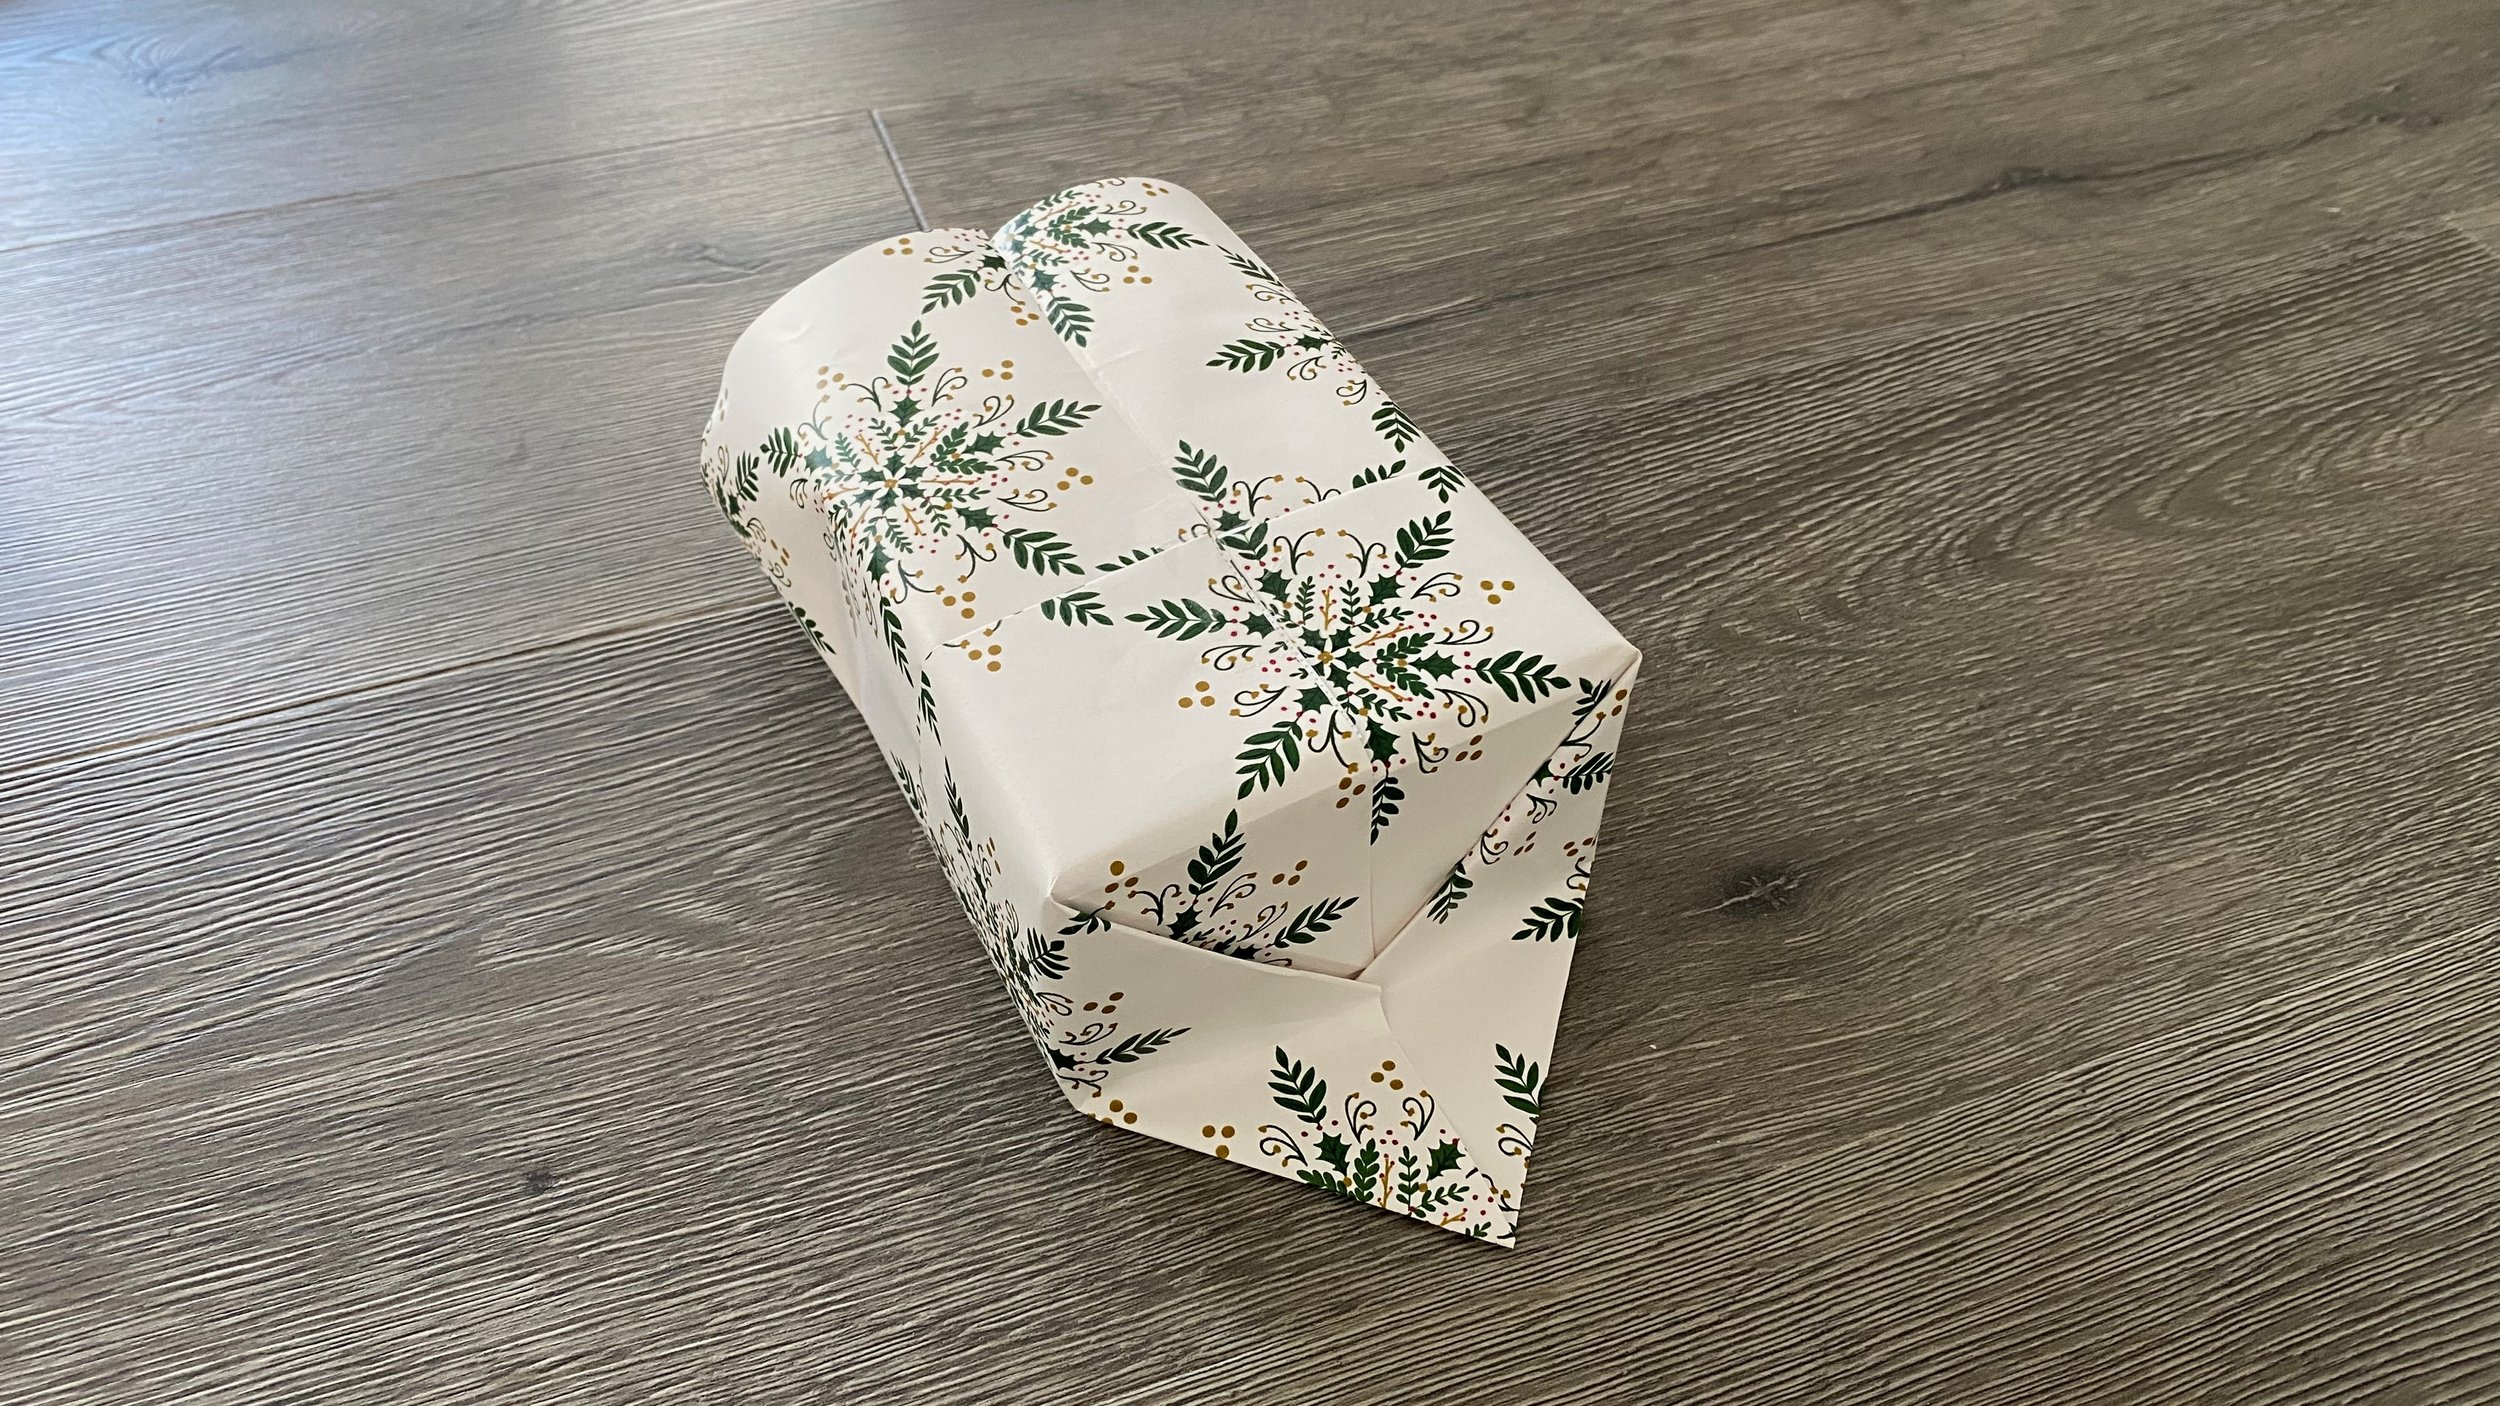
8. Then fold the sides toward the center.
If you give the corner a crease, it will look nicer one you fold it up to tape it closed.
9. Do the same to the other side.
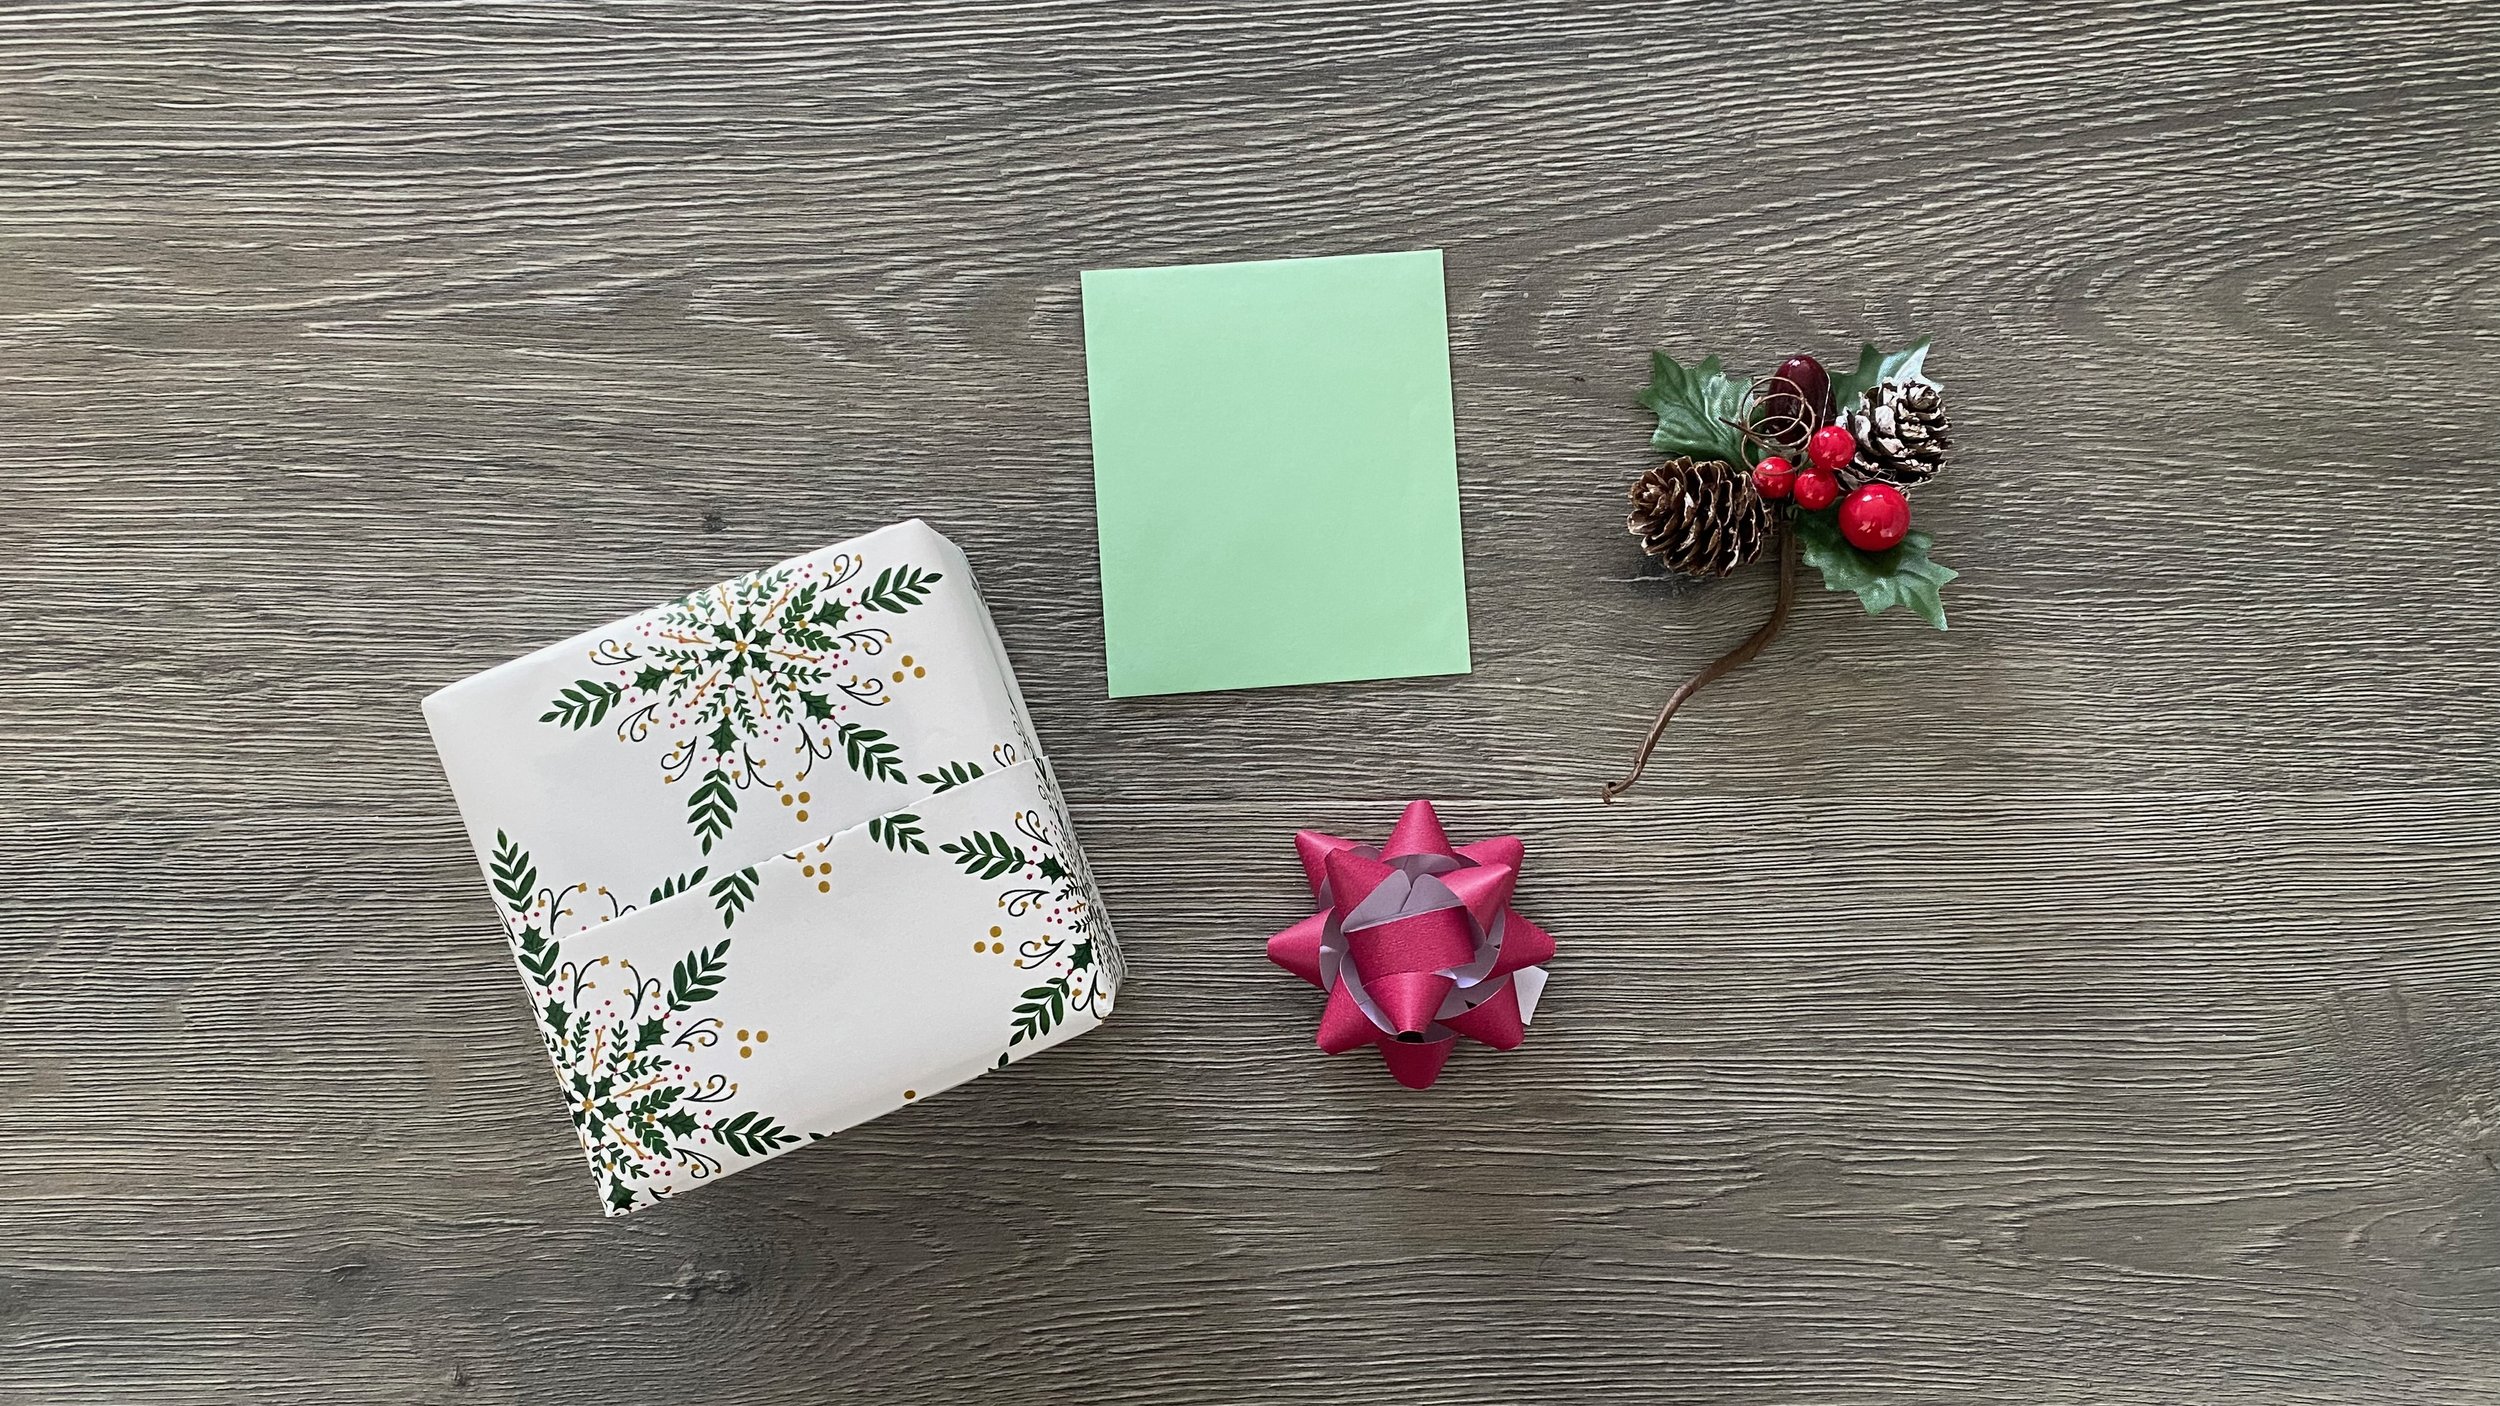
10. And you’re done! Insert the card into the pocket and decorate as you wish.
For a more festive touch, try using bright materials like red or gold berries.
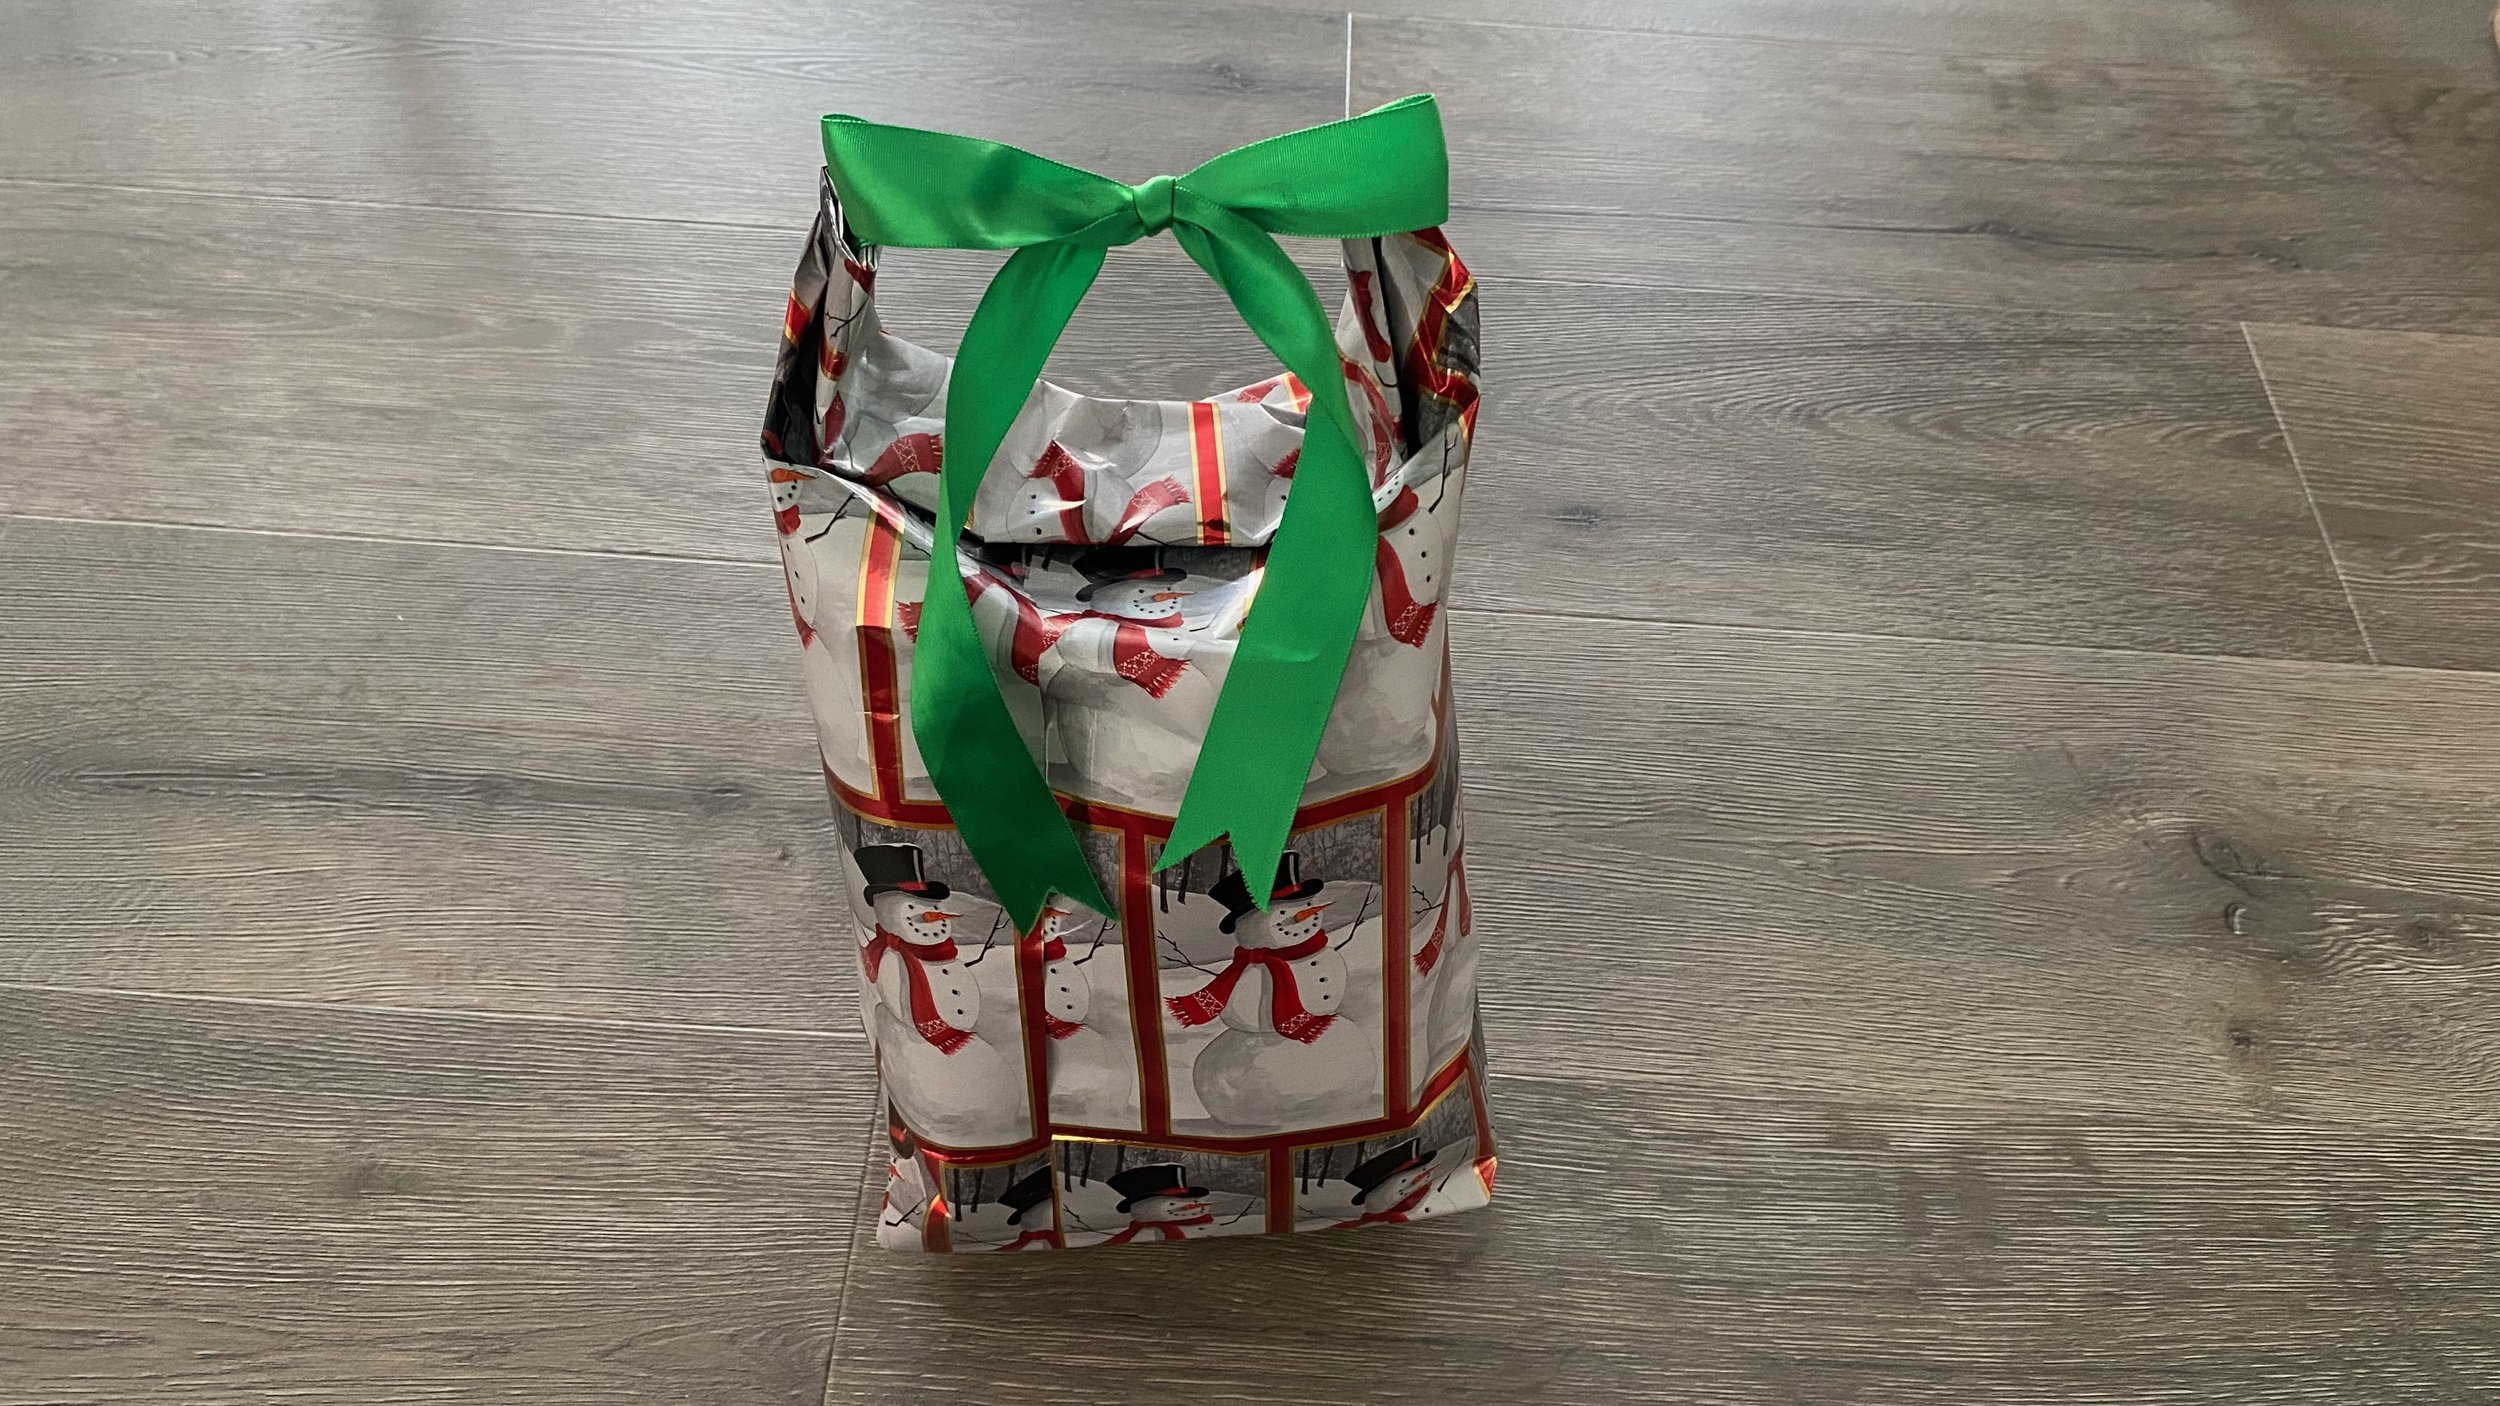
Technique #2: How to Wrap an Oddly-Shaped Gift
Materials:
- Wrapping paper
- Scissors
- Tape
- A greeting card
- Optional: Other materials to slide inside the pocket
Steps:
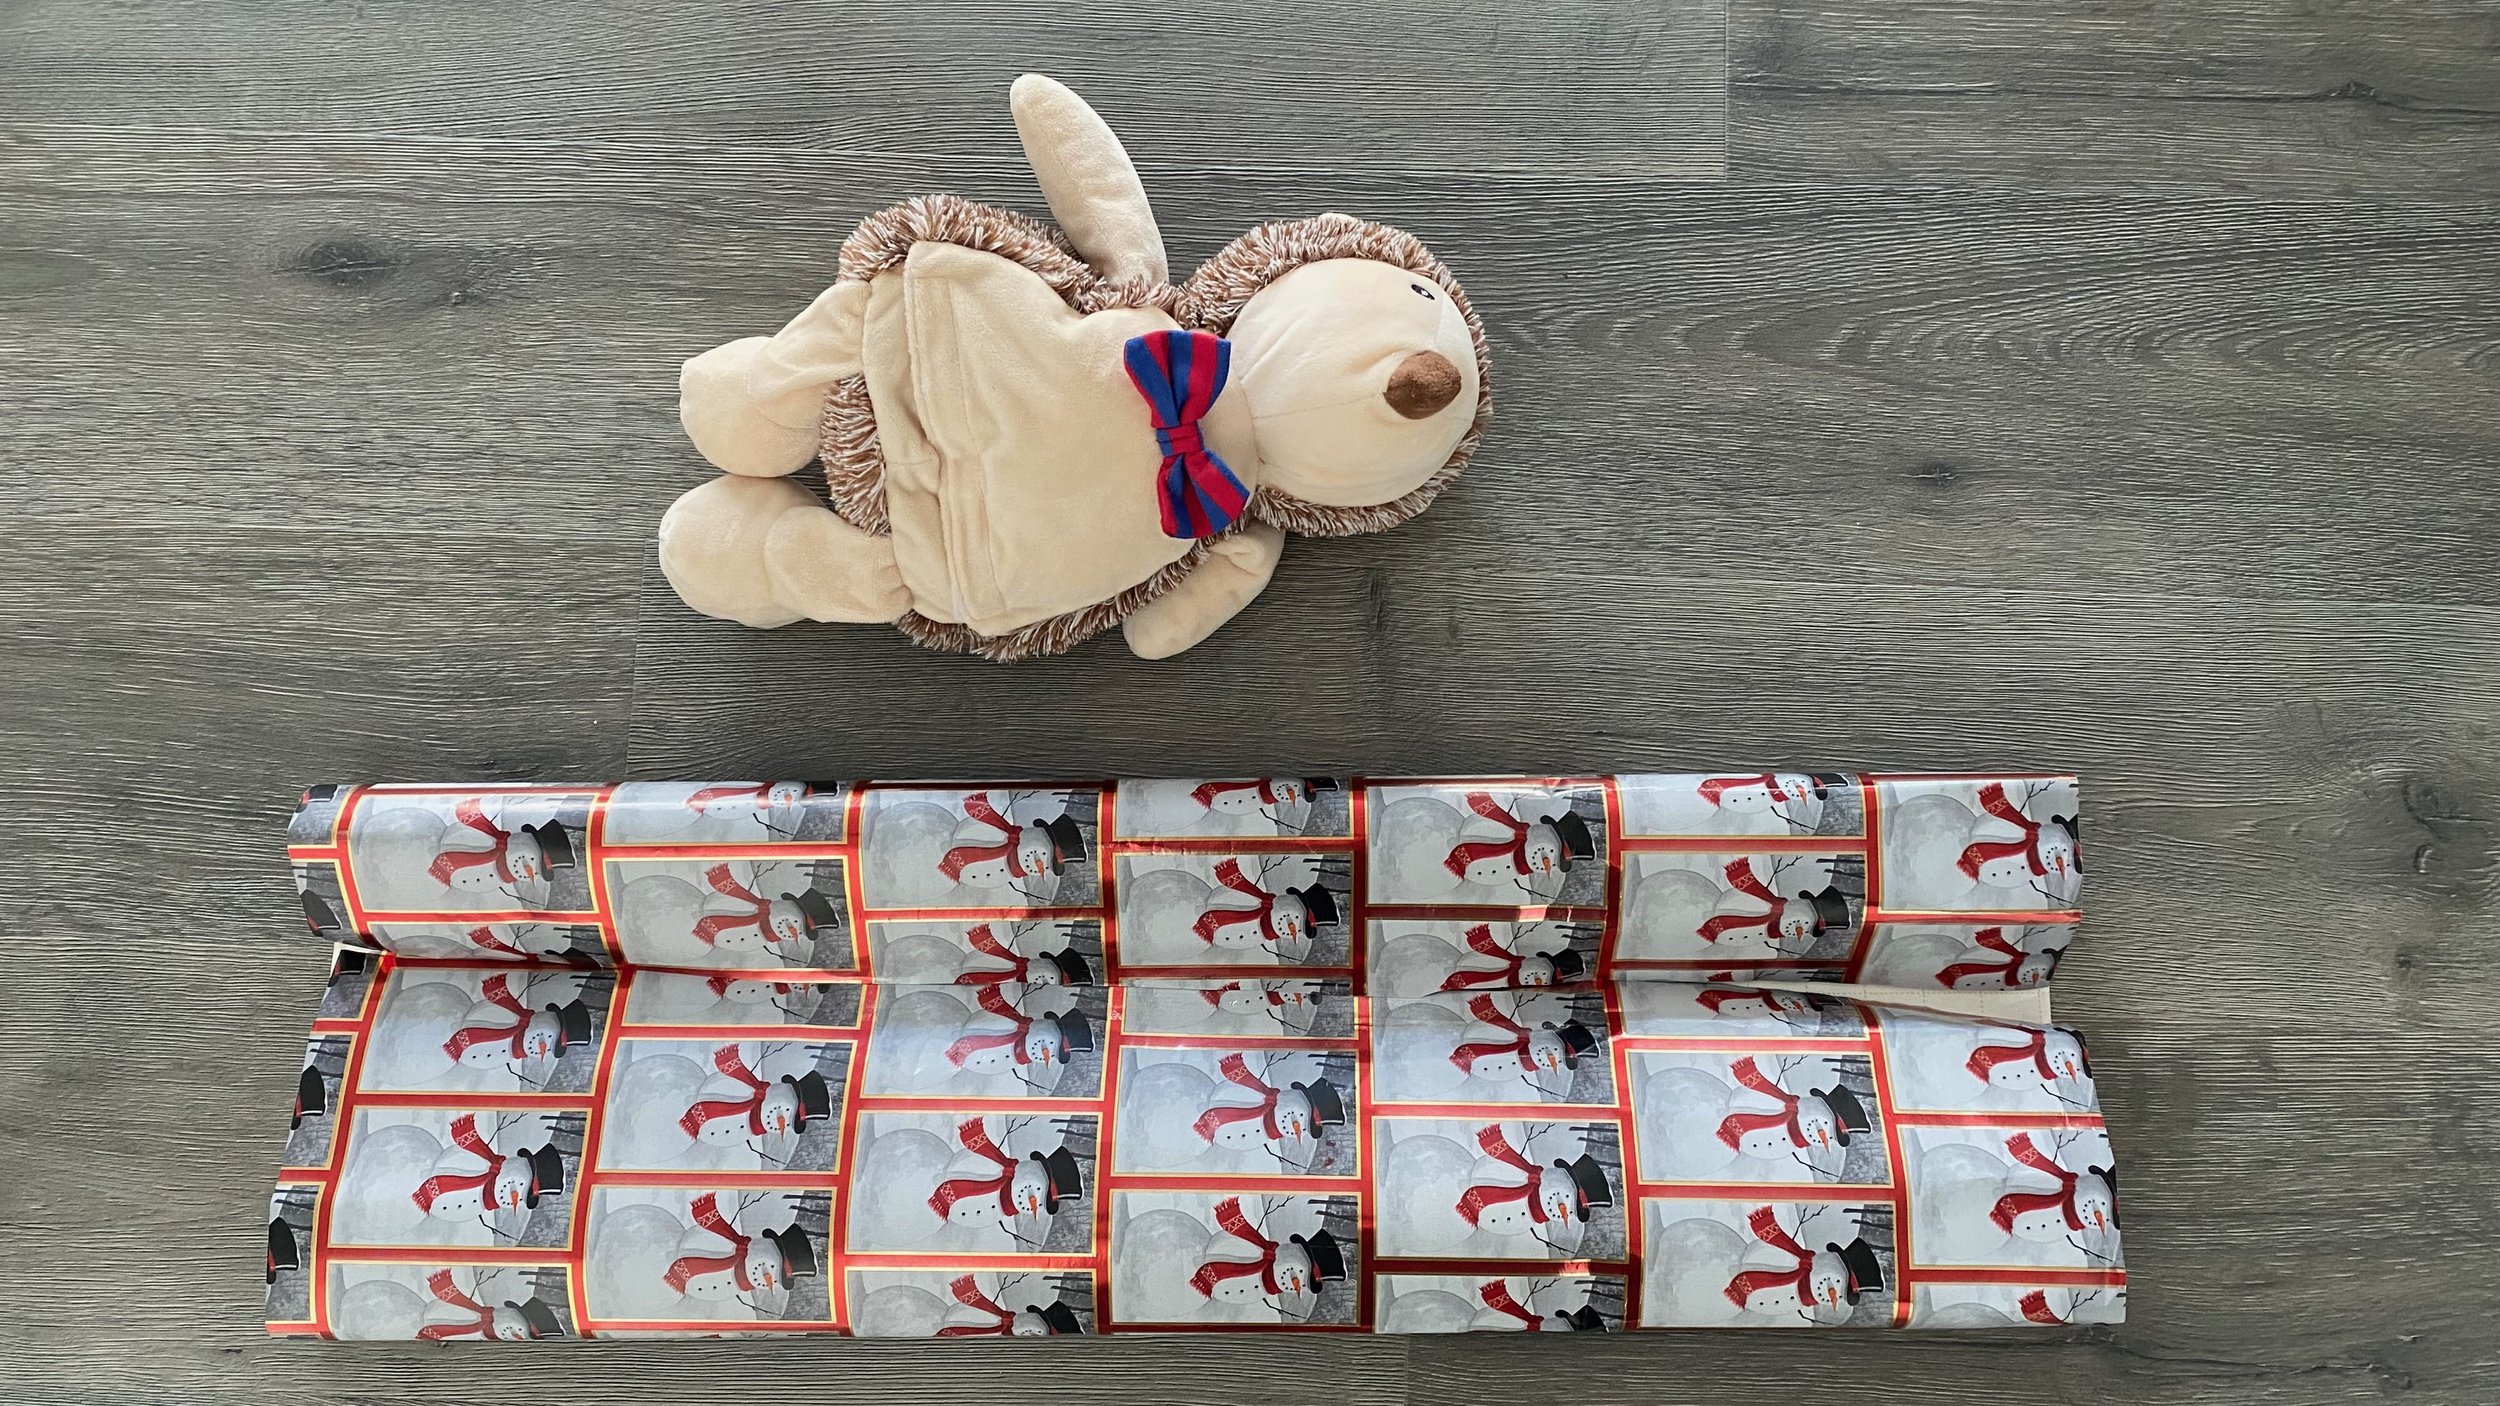
1. Lay out the wrapping paper and place the gift on top to measure the desired width around the object.
2. Tape the paper to create a tube. Don’t make it too tight, or it will be difficult to place the gift inside later!
3. Fold up the bottom to create a base.
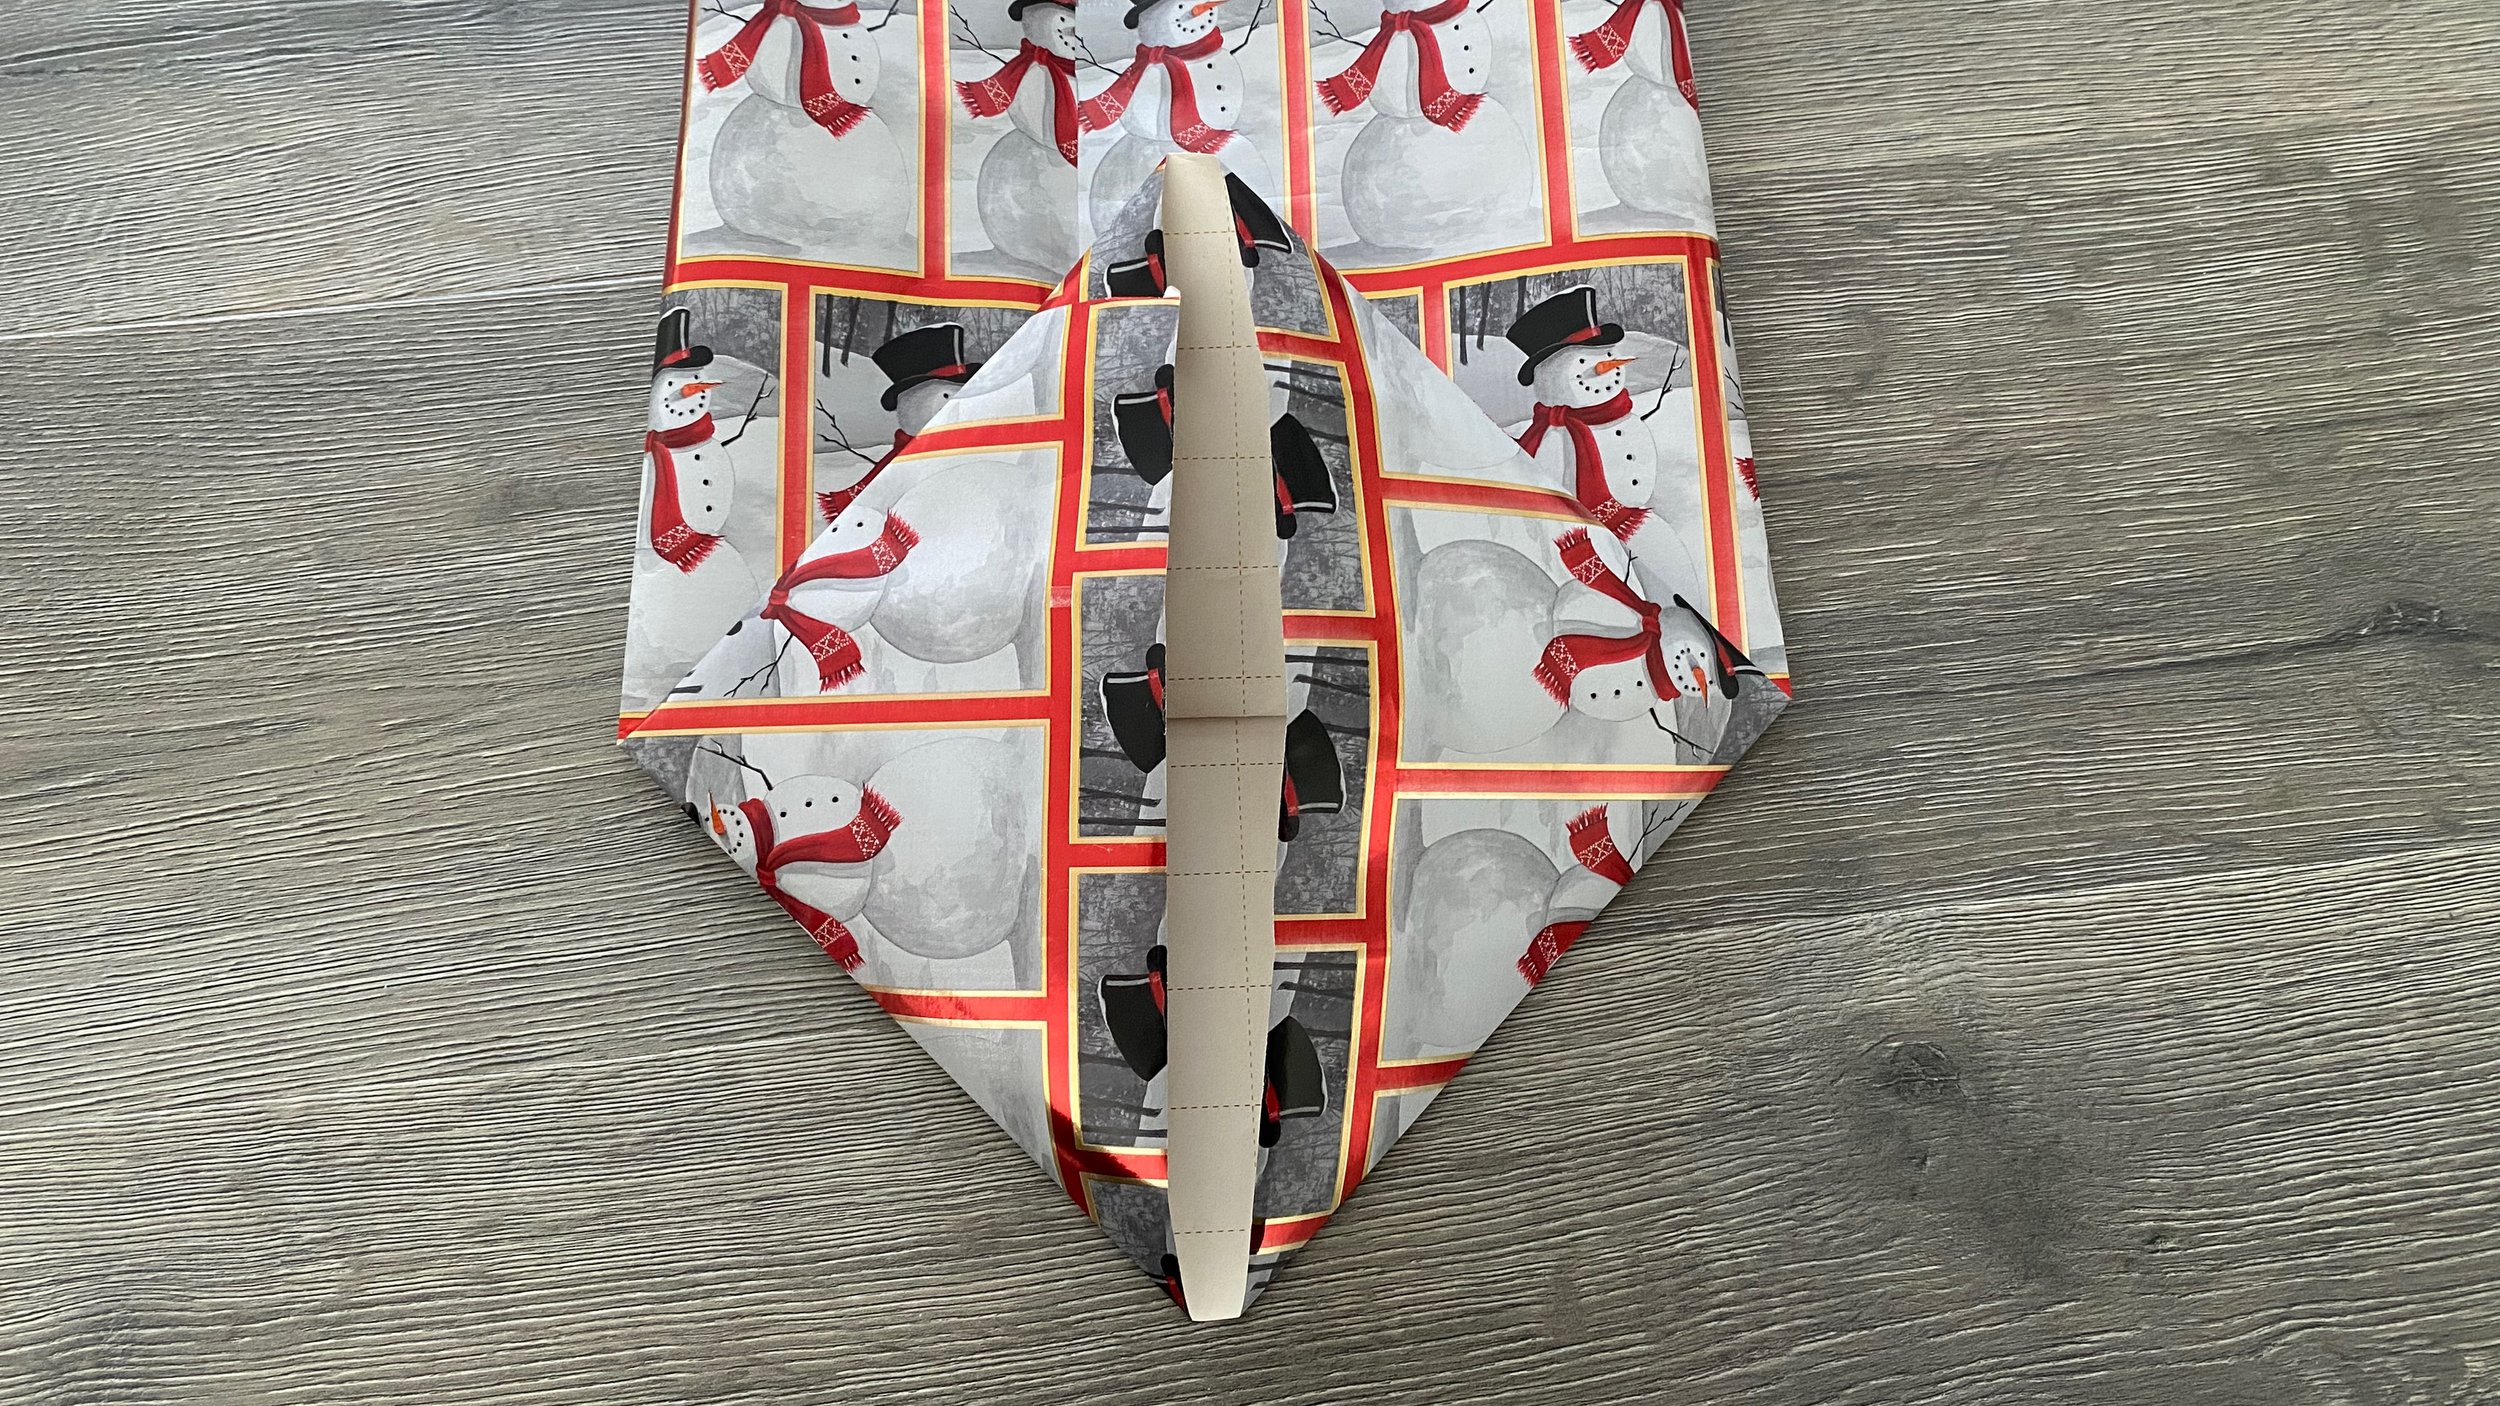
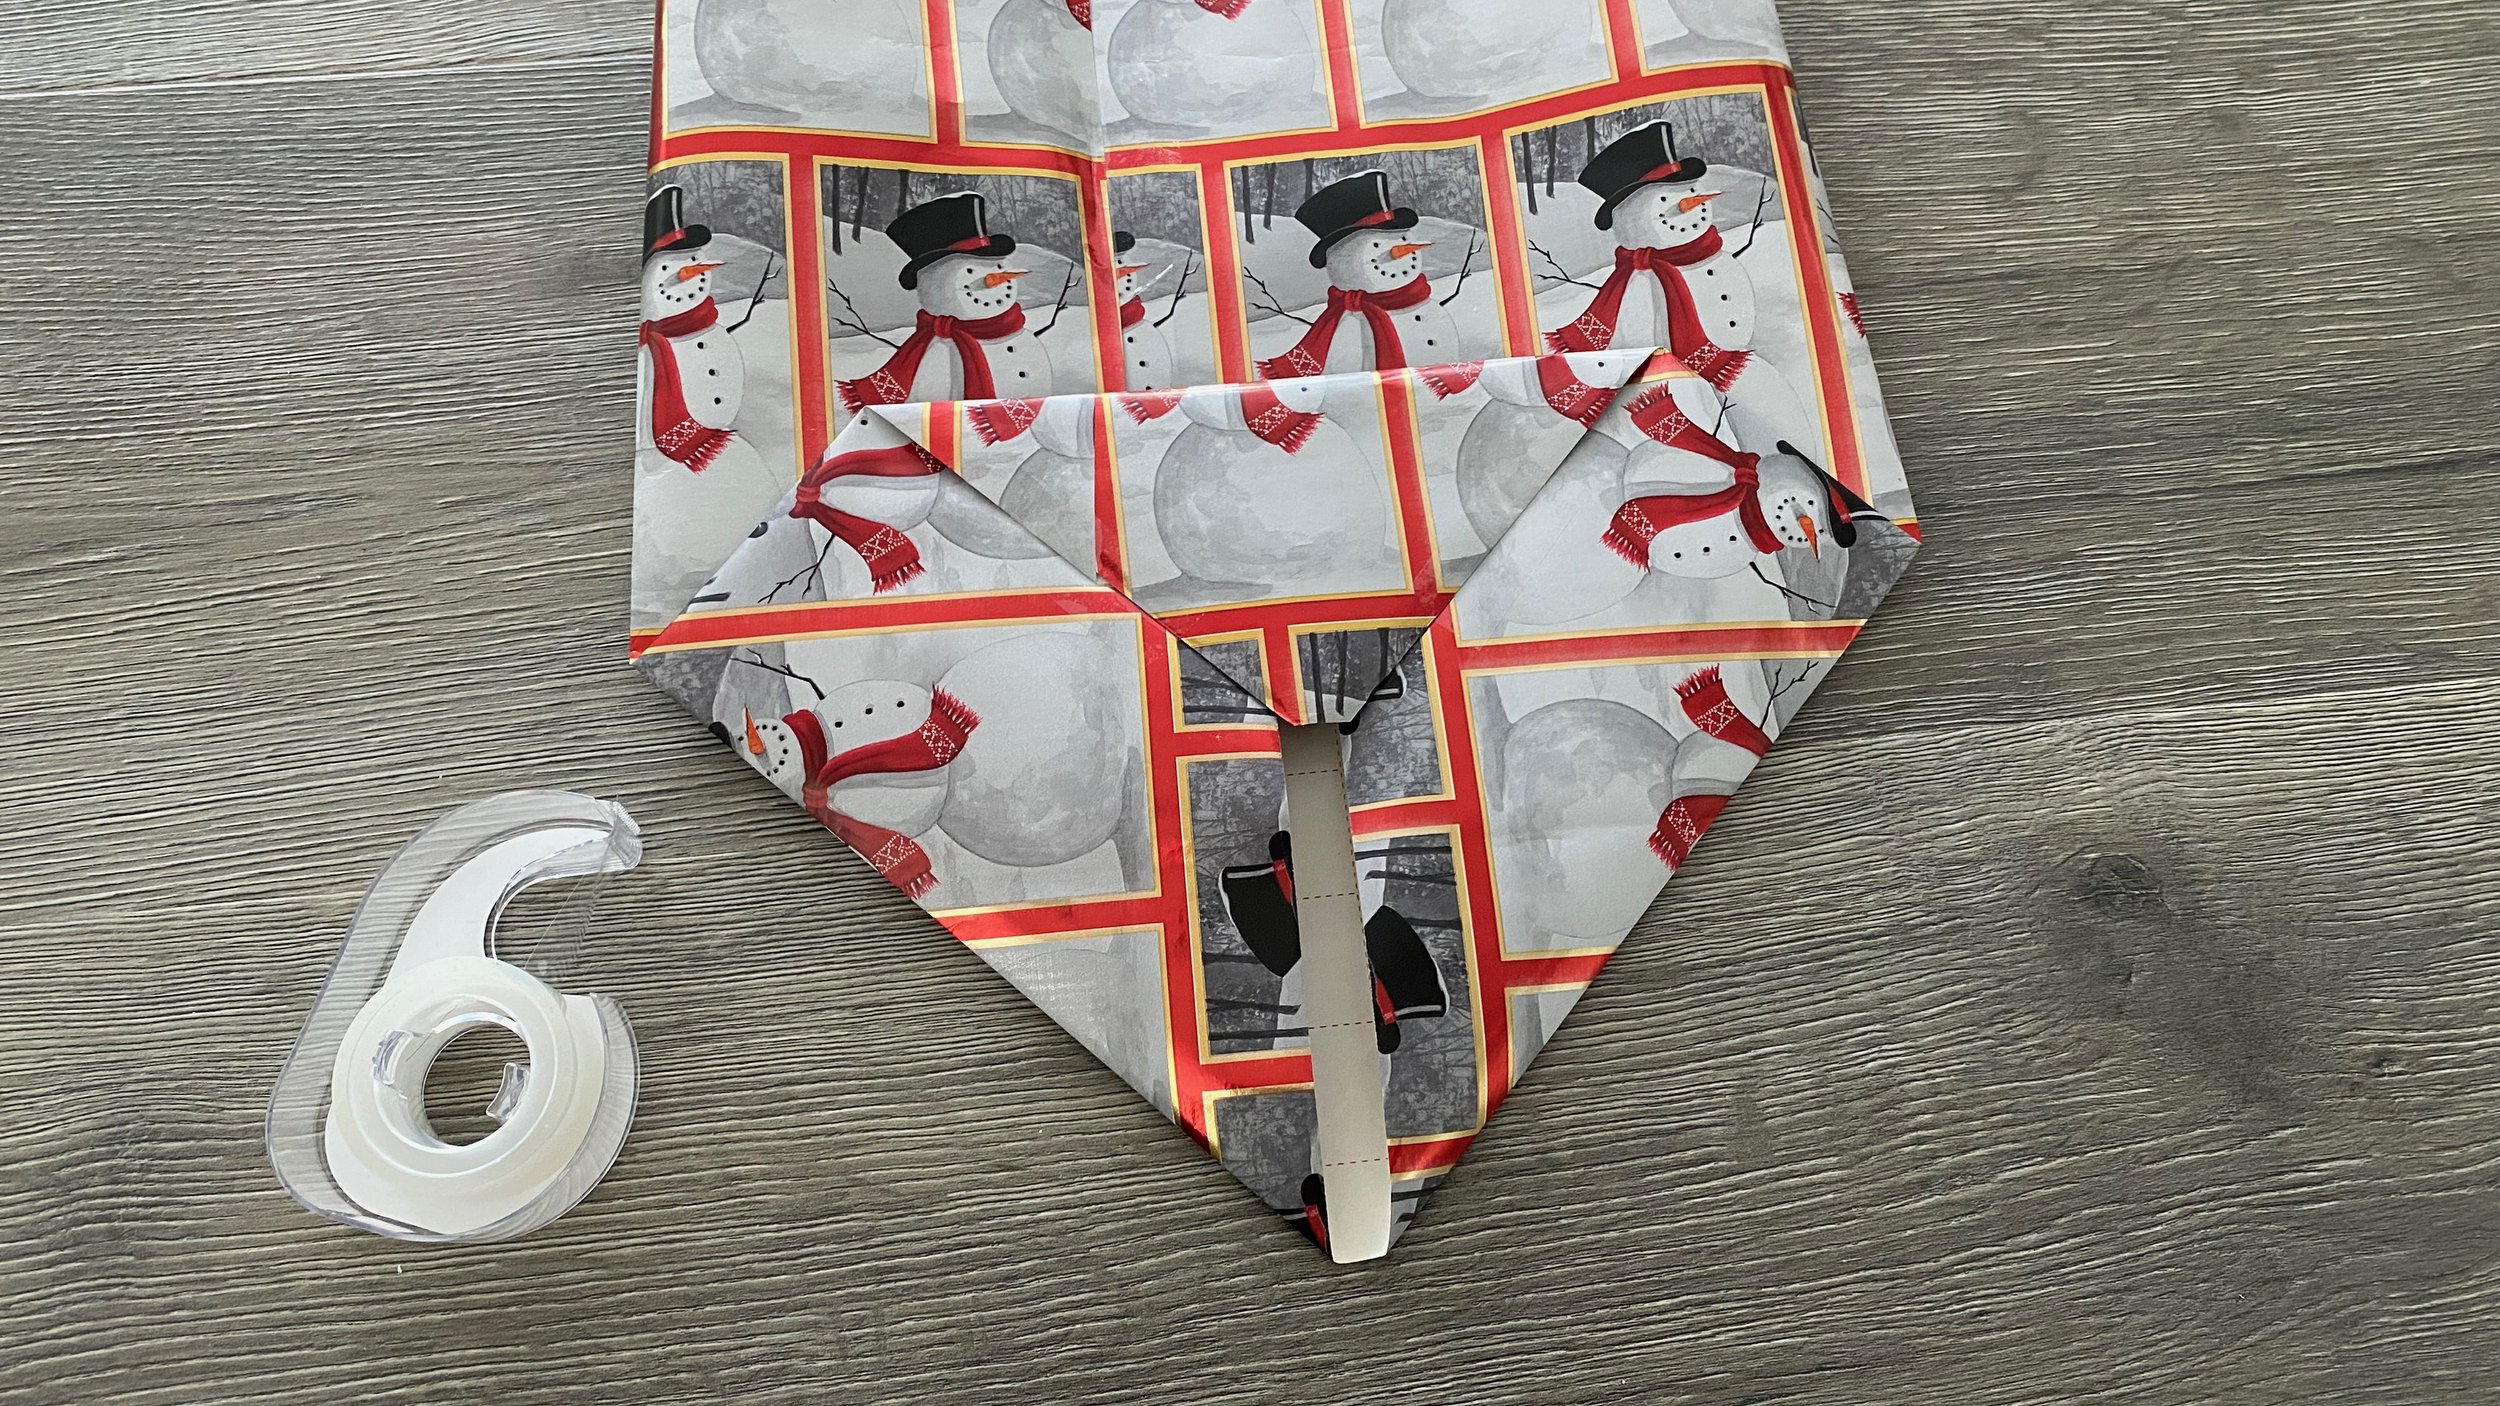
4. Fold the sides inward to create a triangle flap on both sides. Crease on the diagonal.
5. Fold down the top in a triangle and tape it down.
6. Tape the sides together tightly around the box.
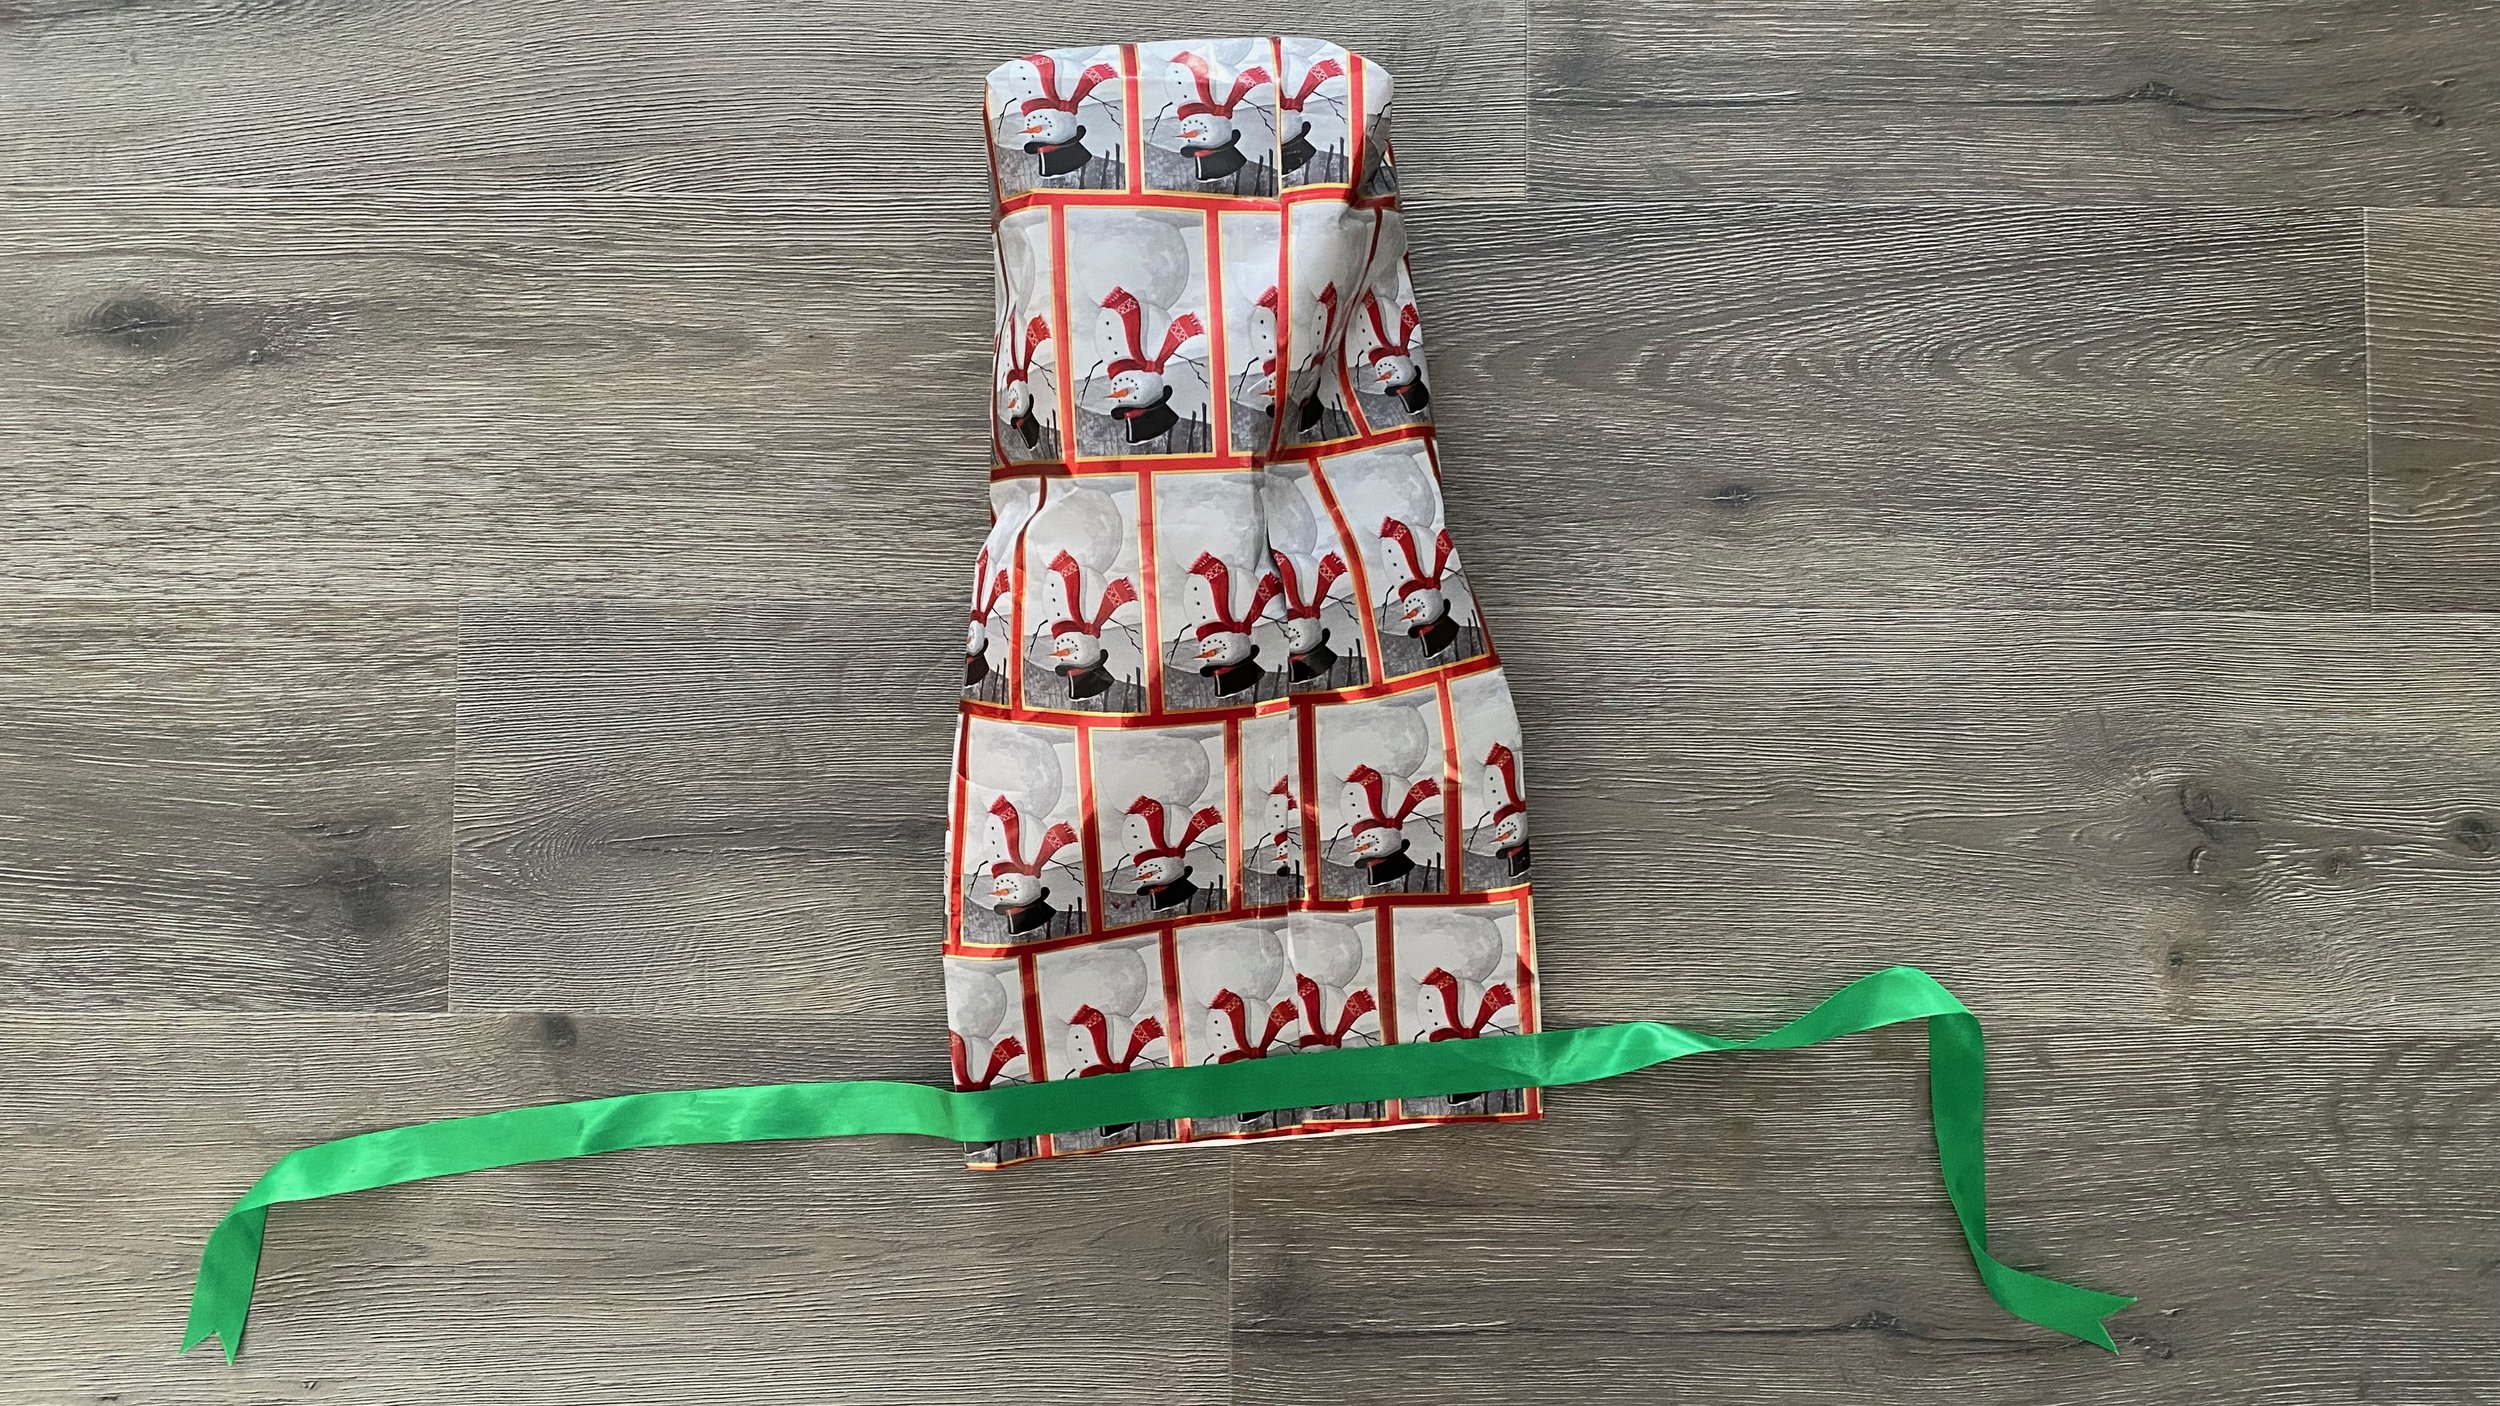
7. Insert the gift into the cylinder.
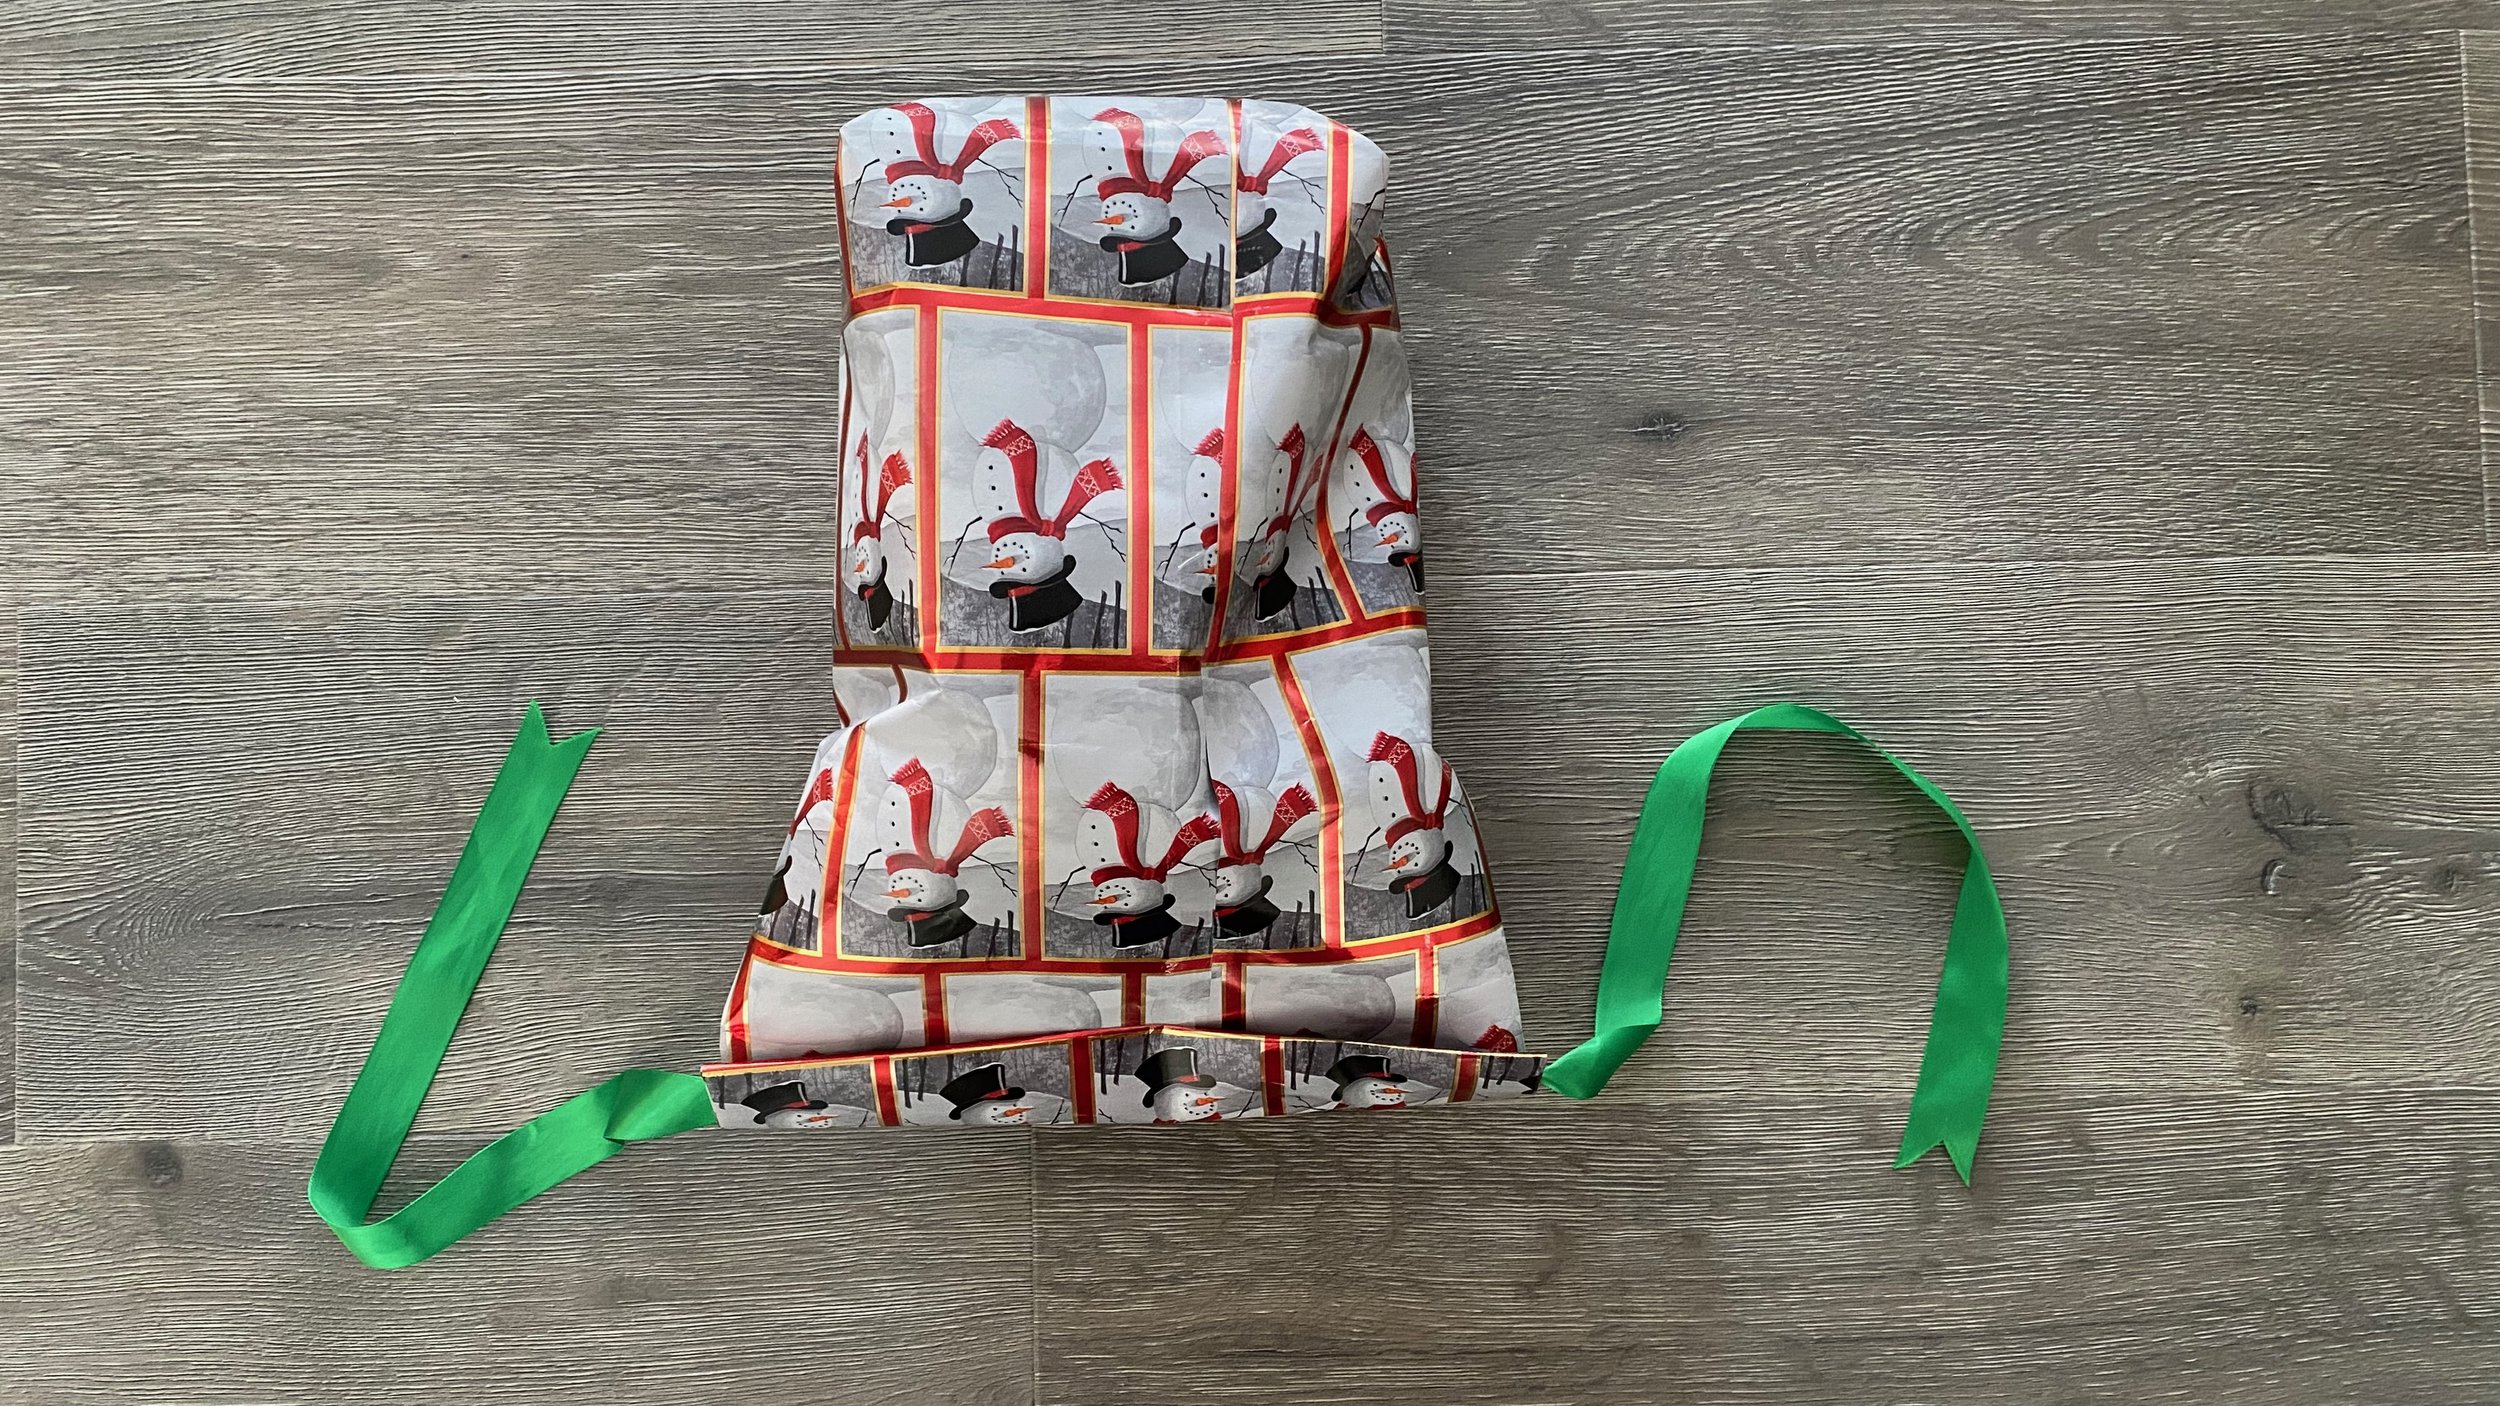
8. Lay the cylinder down and face the opening towards you. Crease the sides and lay a ribbon along the end.
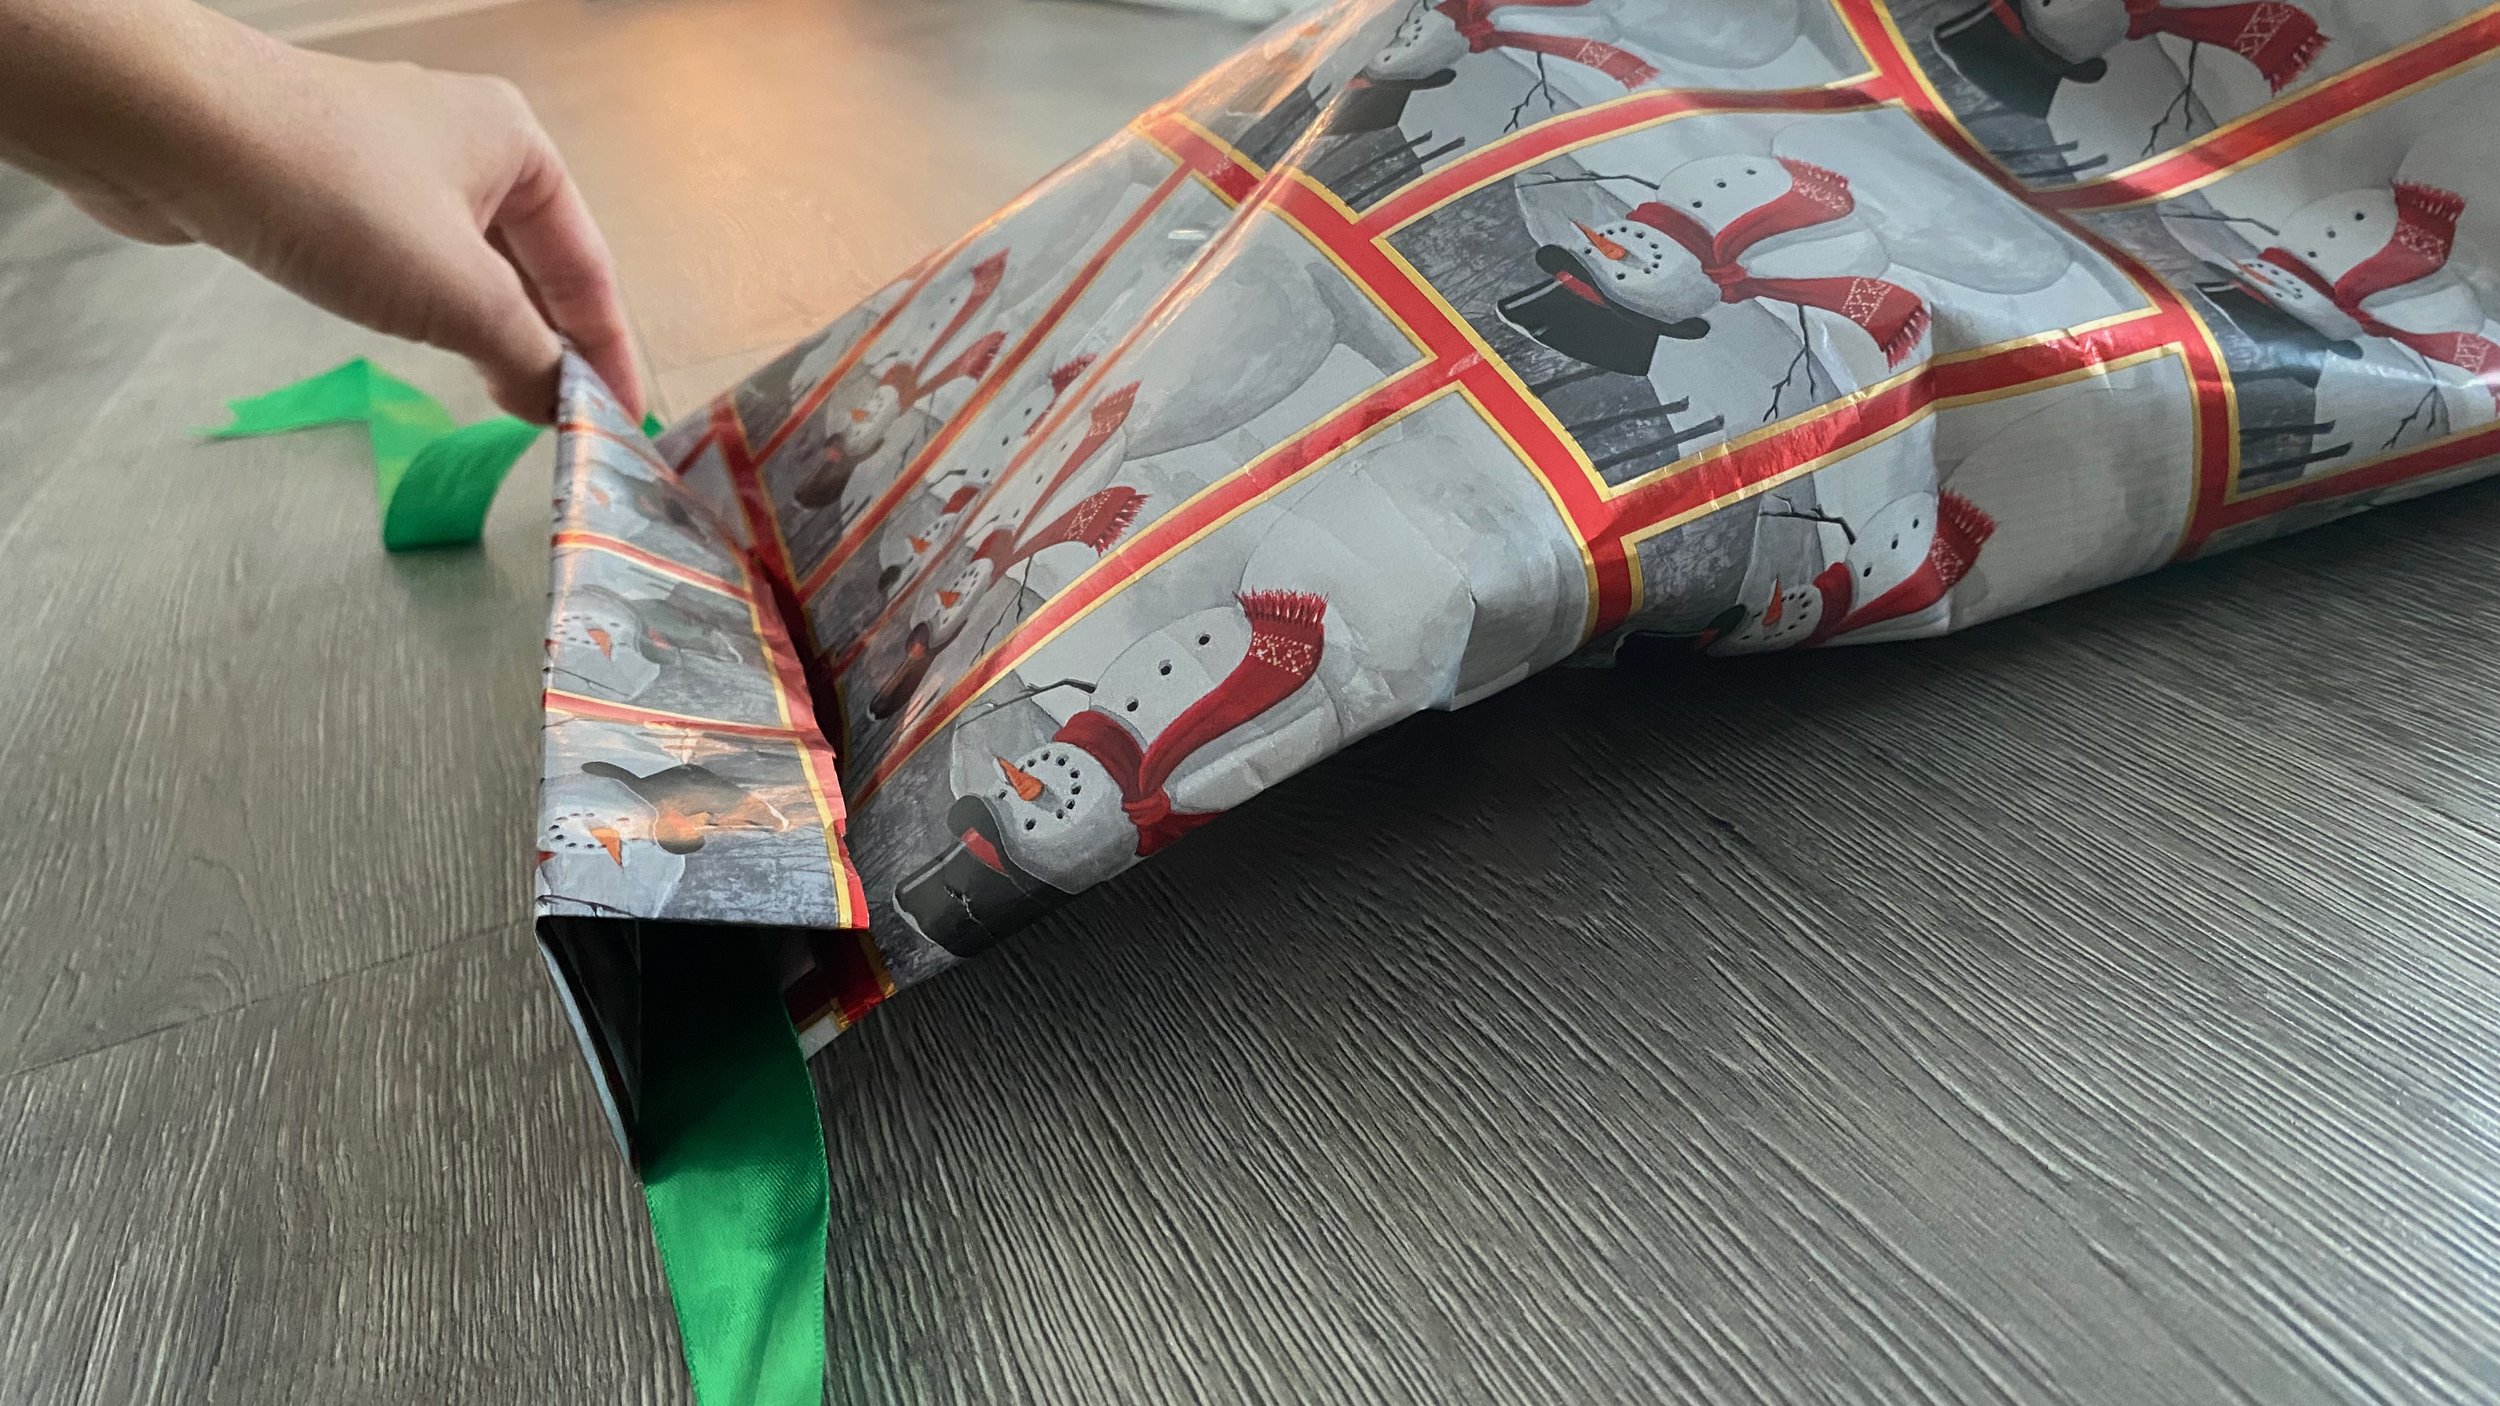
9. Fold the ends with the ribbon inside several times to desired fit.
10. Stand the gift up and tie the ends of the ribbon together.
Make a cute bow and you’re done!
Technique #3: A Candy-Shaped Gift Wrap
Materials:
- Wrapping paper (thicker paper works best)
- Scissors
- Tape
- Ribbon
Steps:
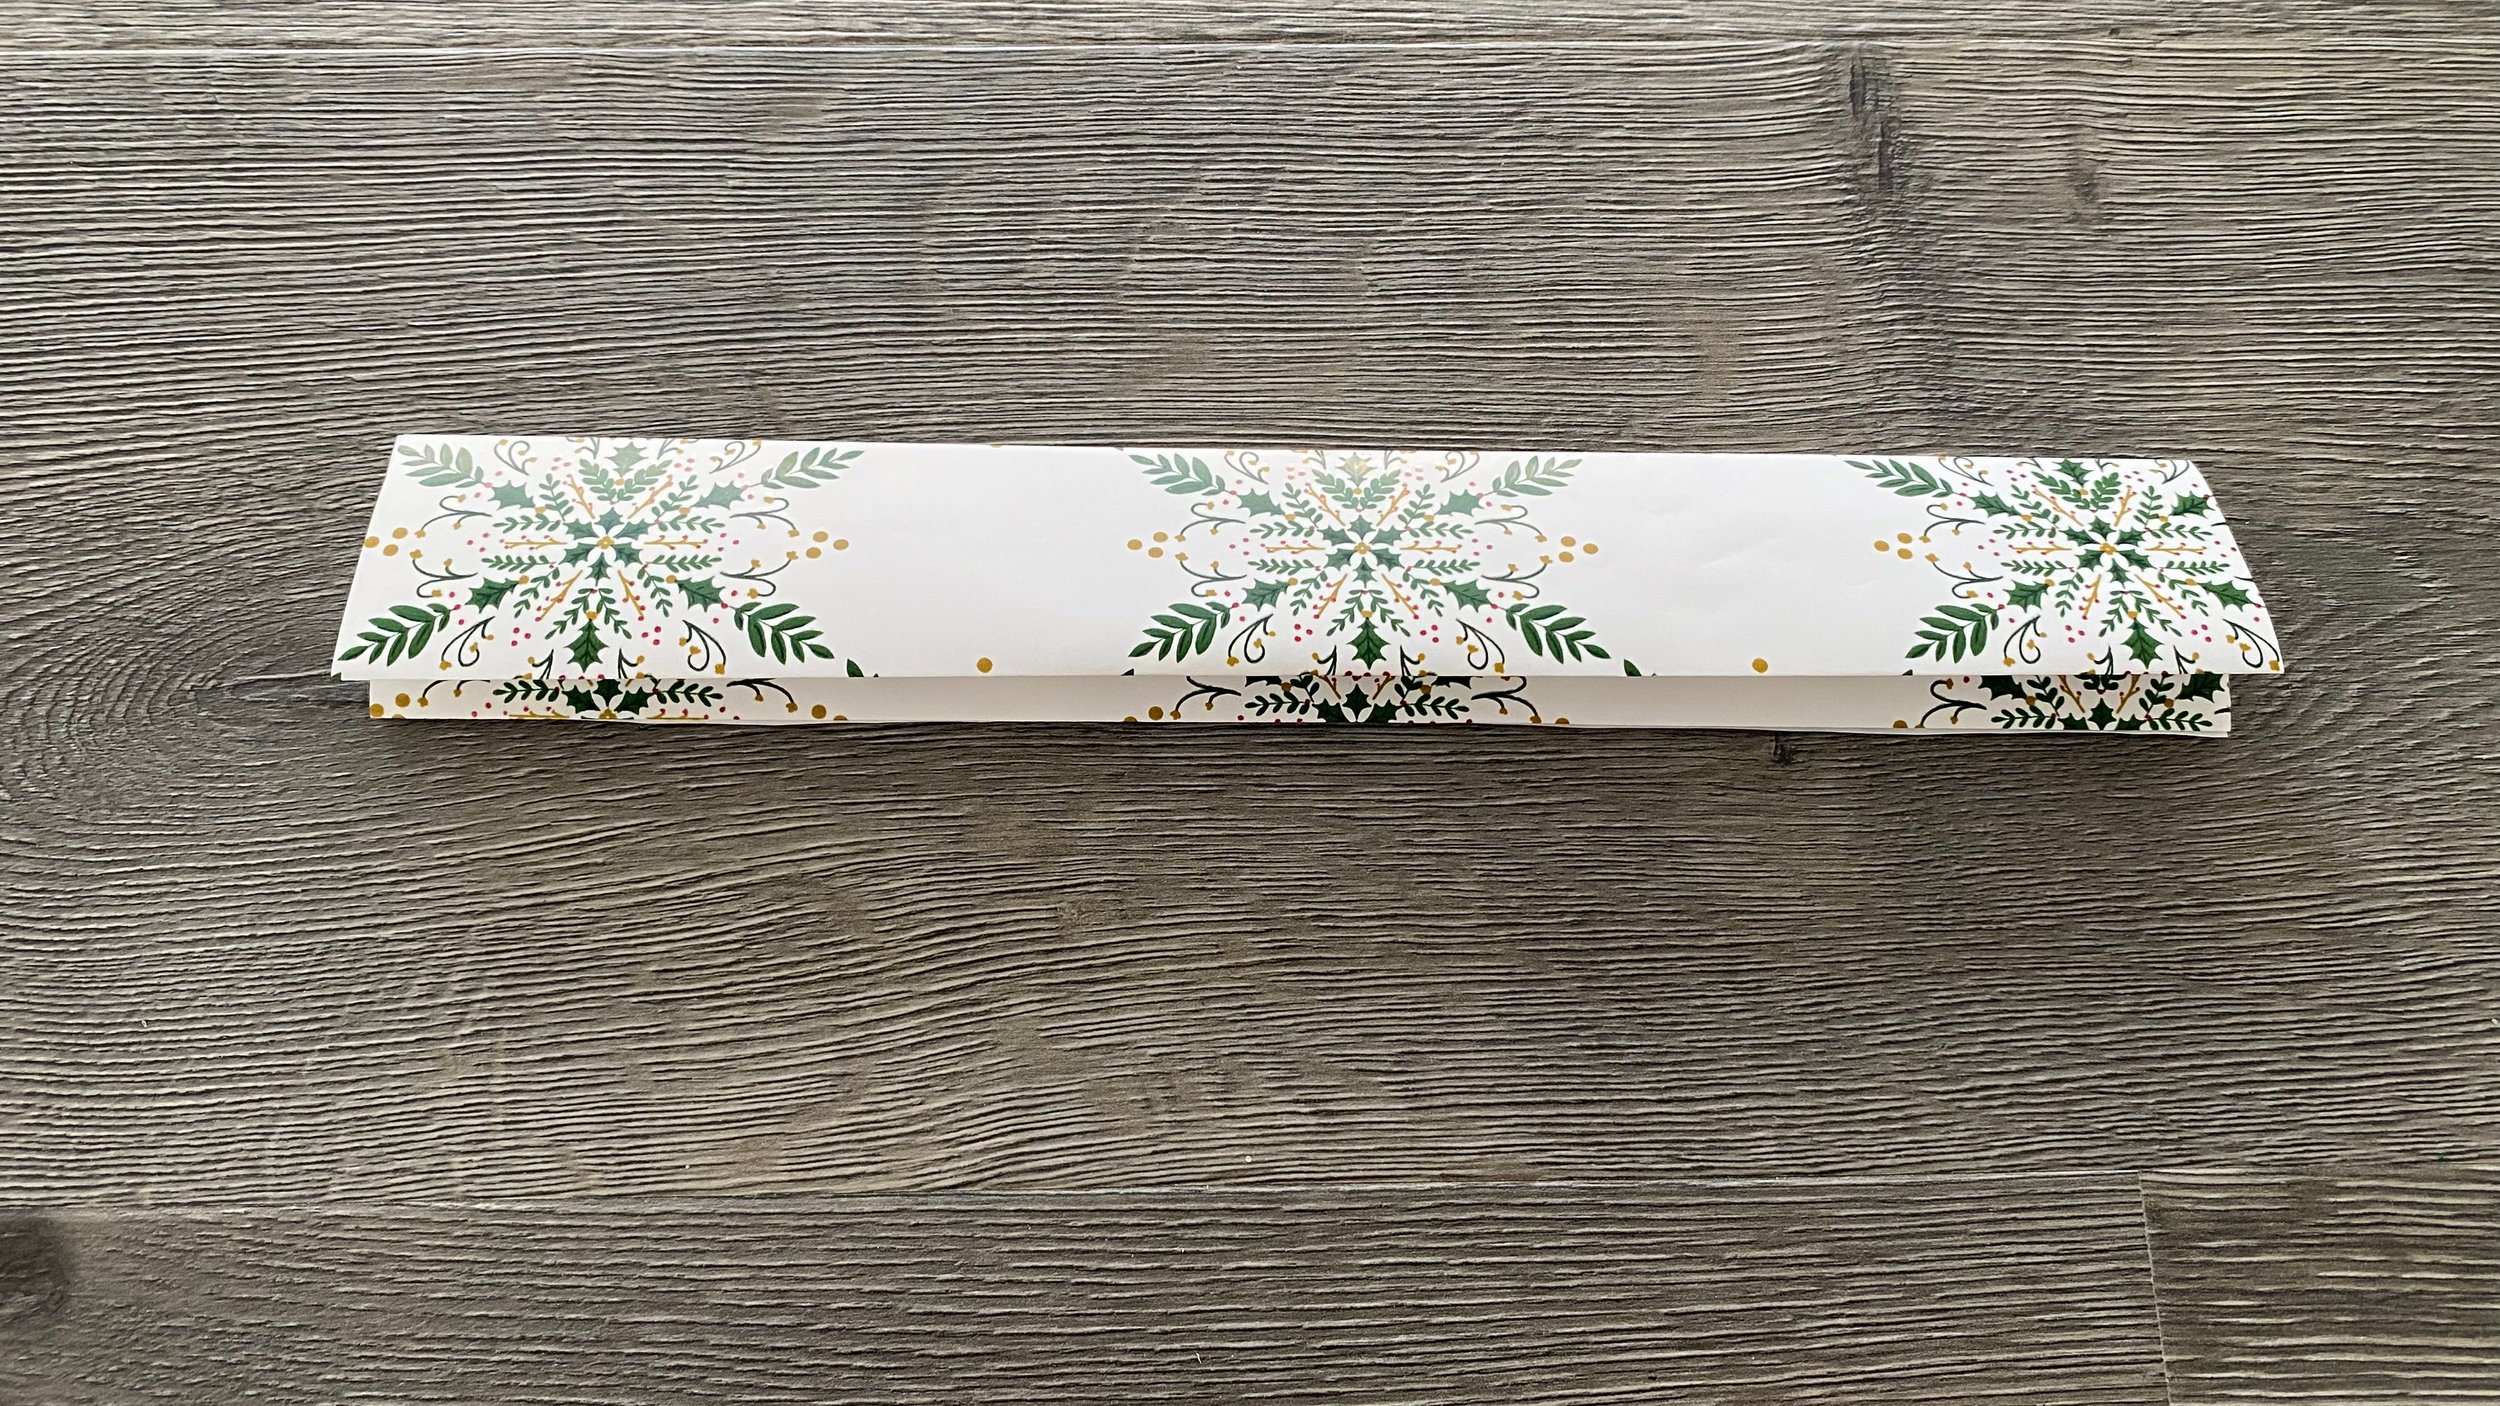
1. Cut the wrapping paper to the size of the content. The height should be long enough to go all the way around the object. The width should be about 1 to 2 inches extra on each side.
2. Fold up ¾ of an inch from the bottom.
3. Fold it up in half.
4. Fold it up in half again.
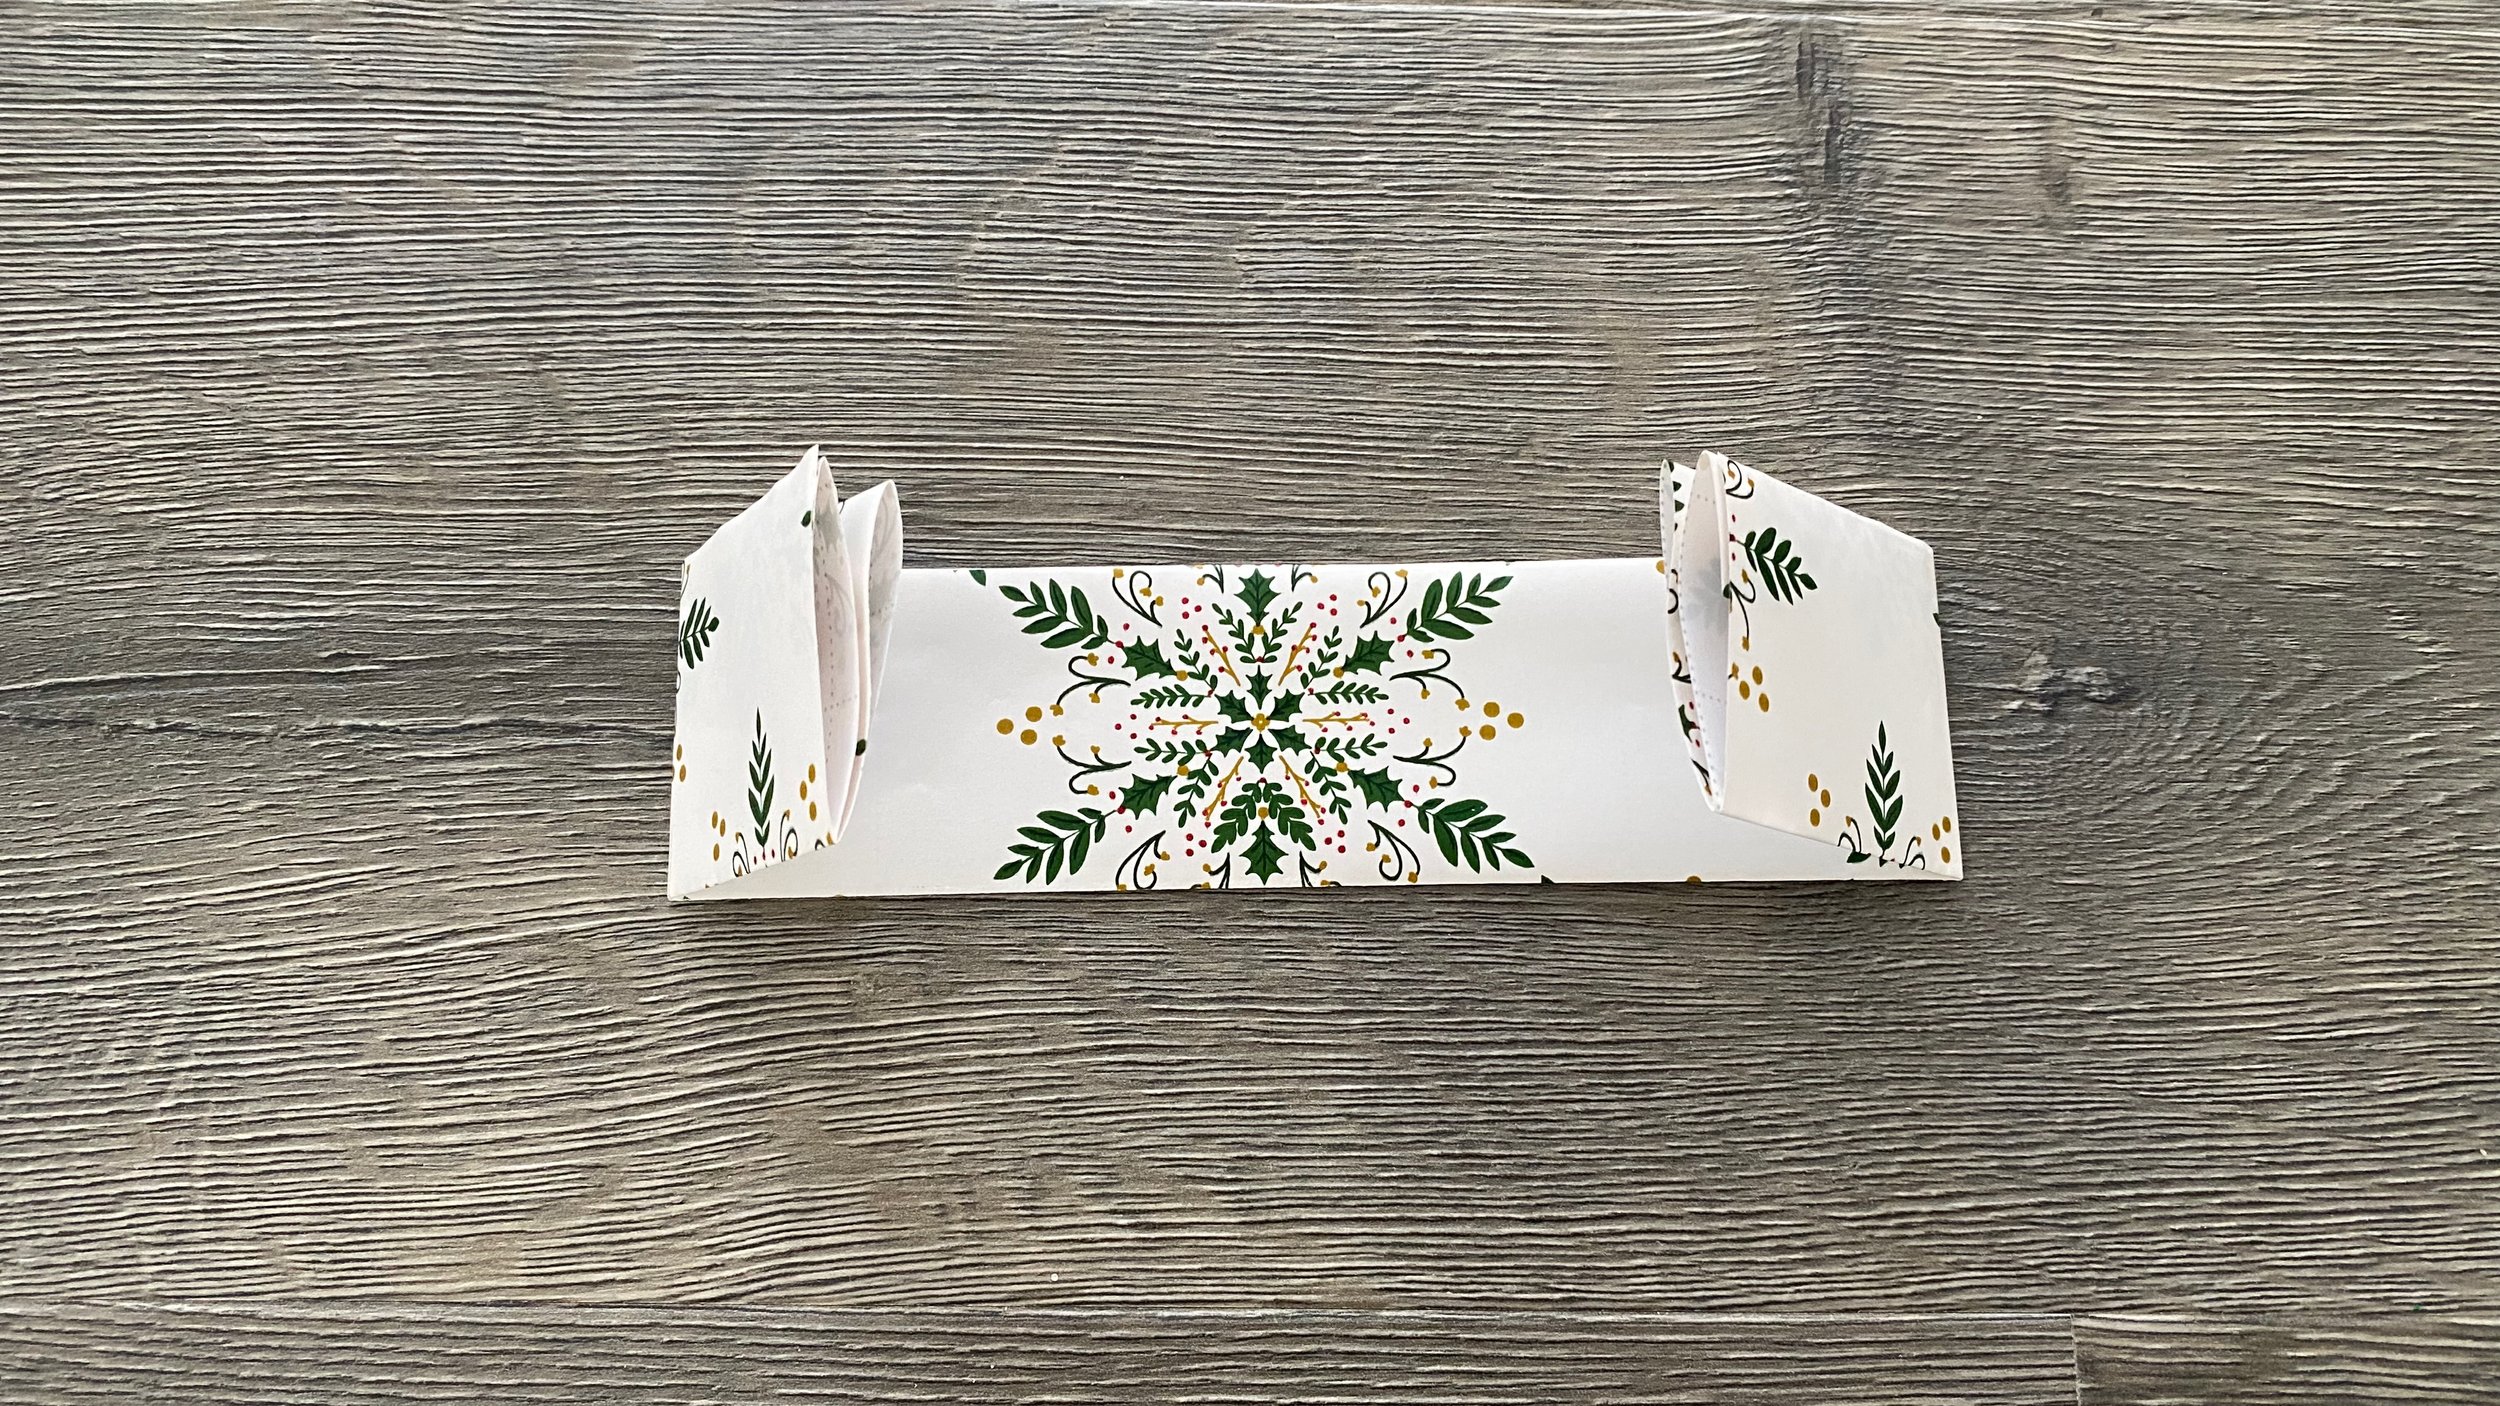
5. Fold the sides inward about 1 ½ inches on both sides.
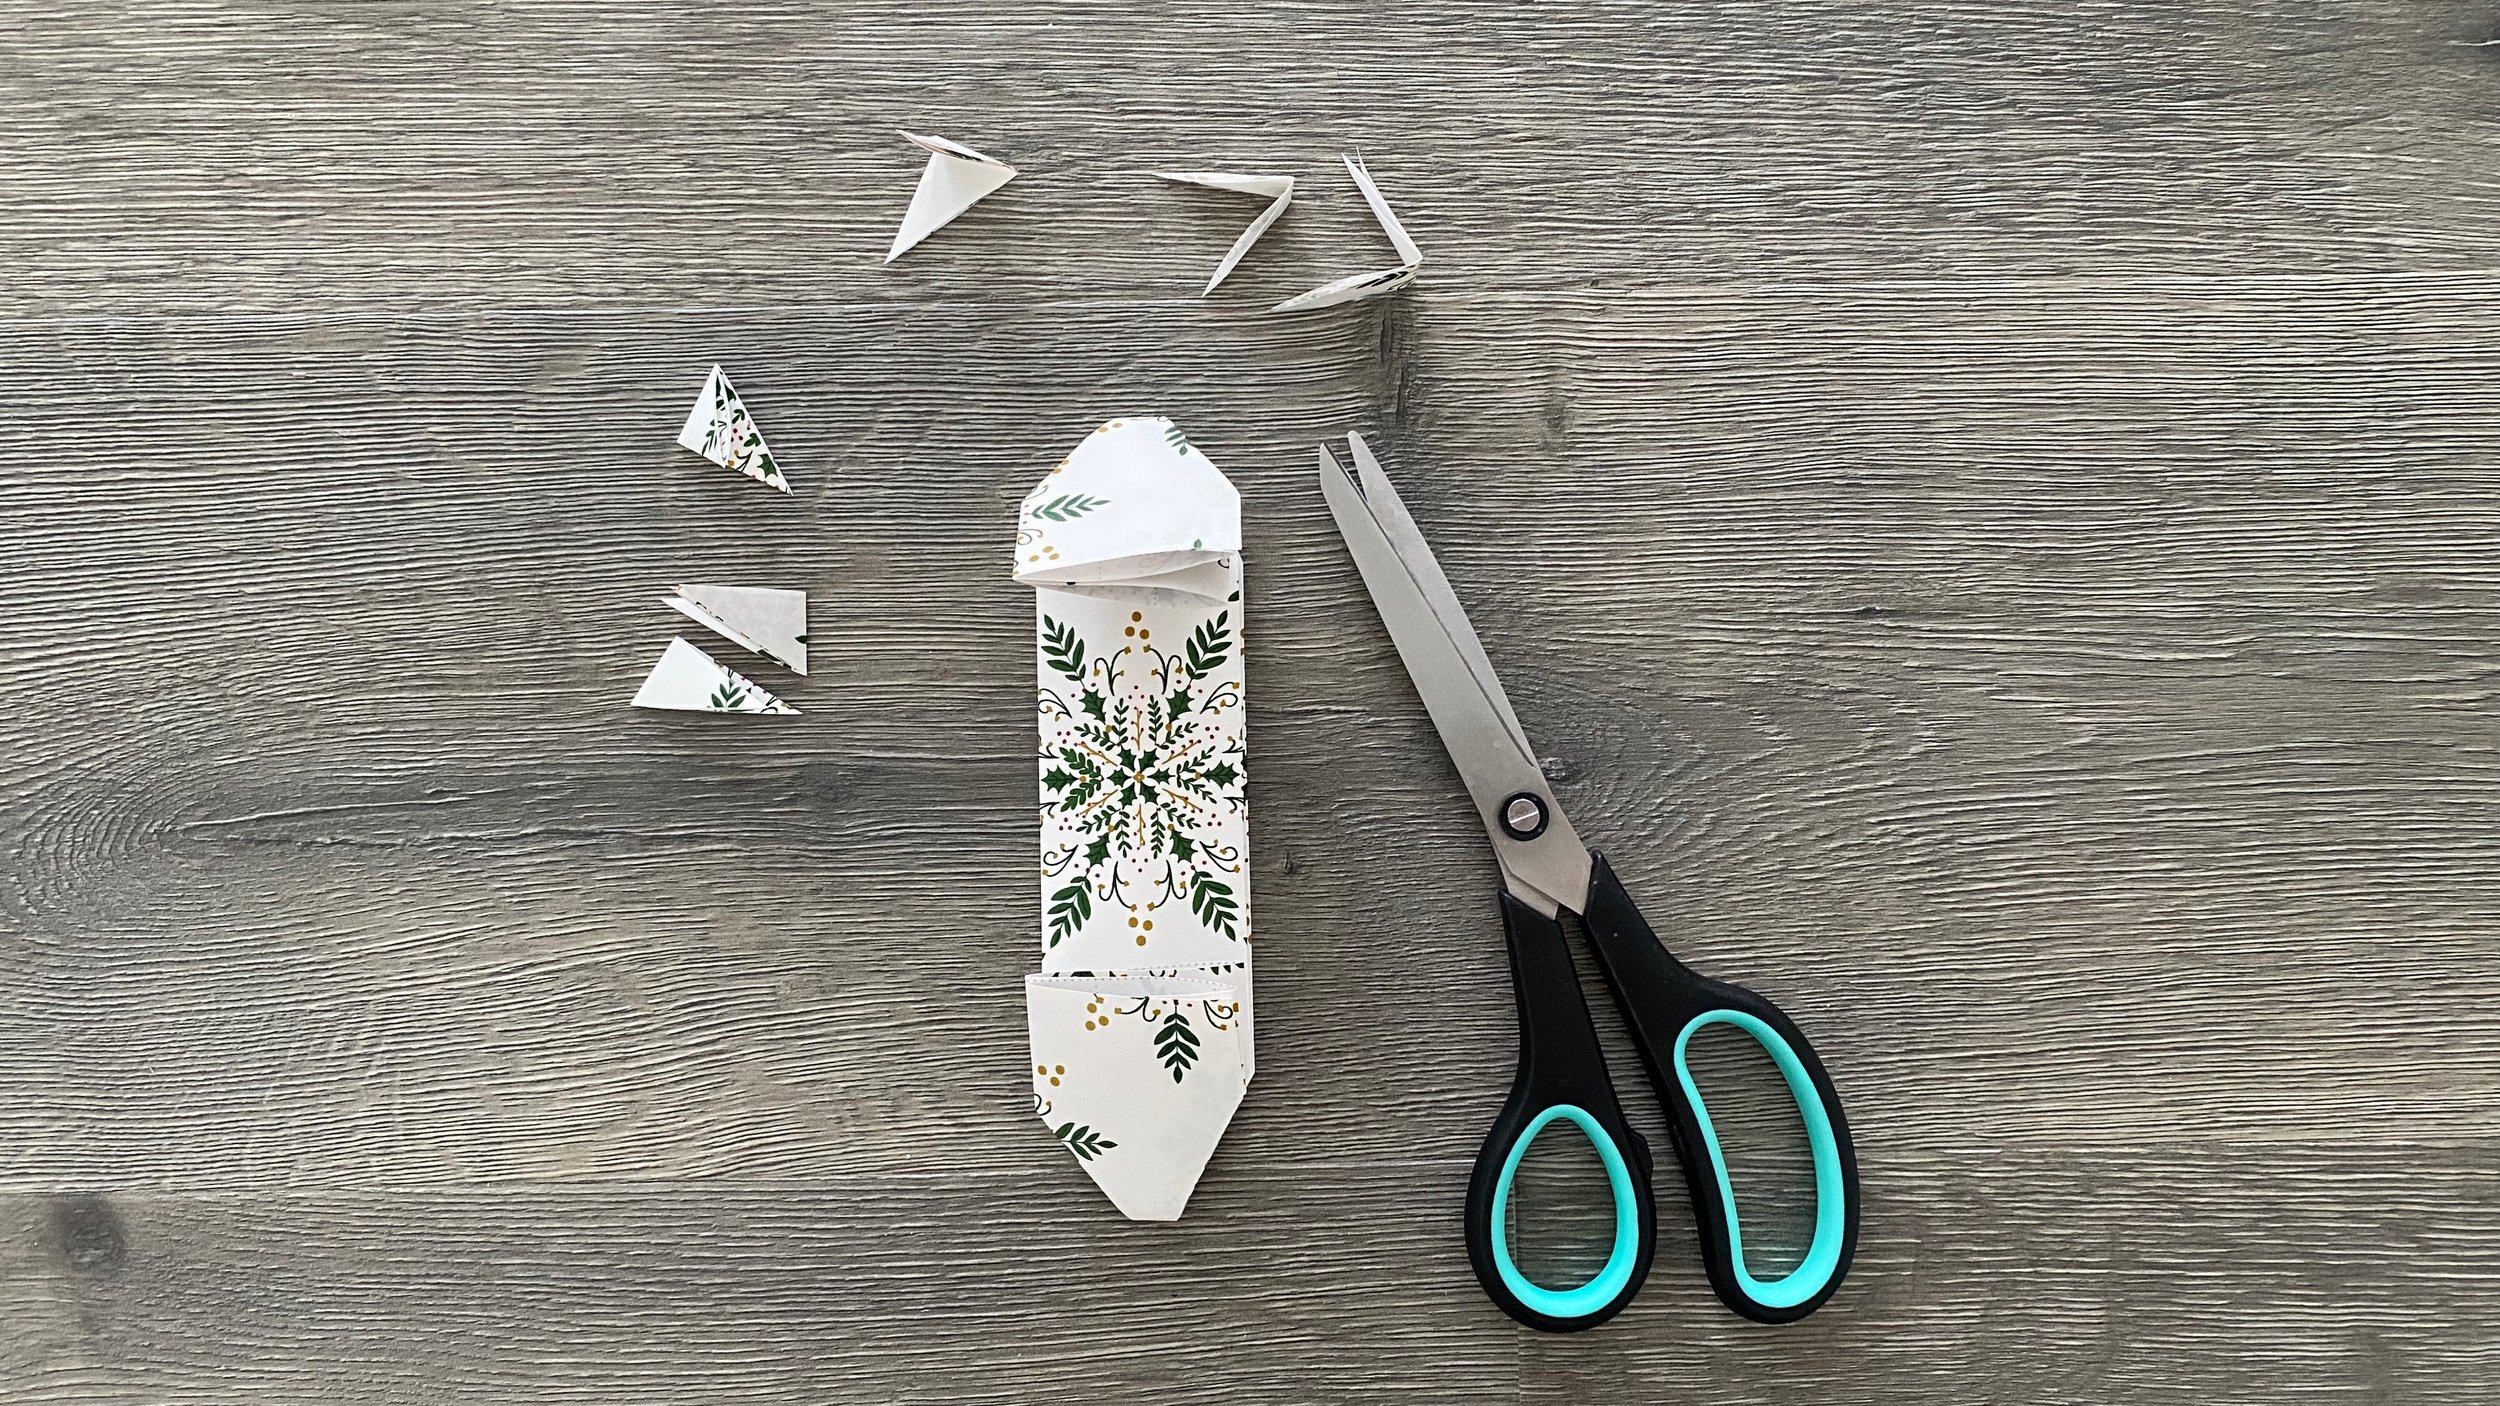
6. Cut the corners in a diagonal. Be careful not to cut to a point. Leave some space between the ends.
7. Open it up.
Tape it closed to create a cylinder.
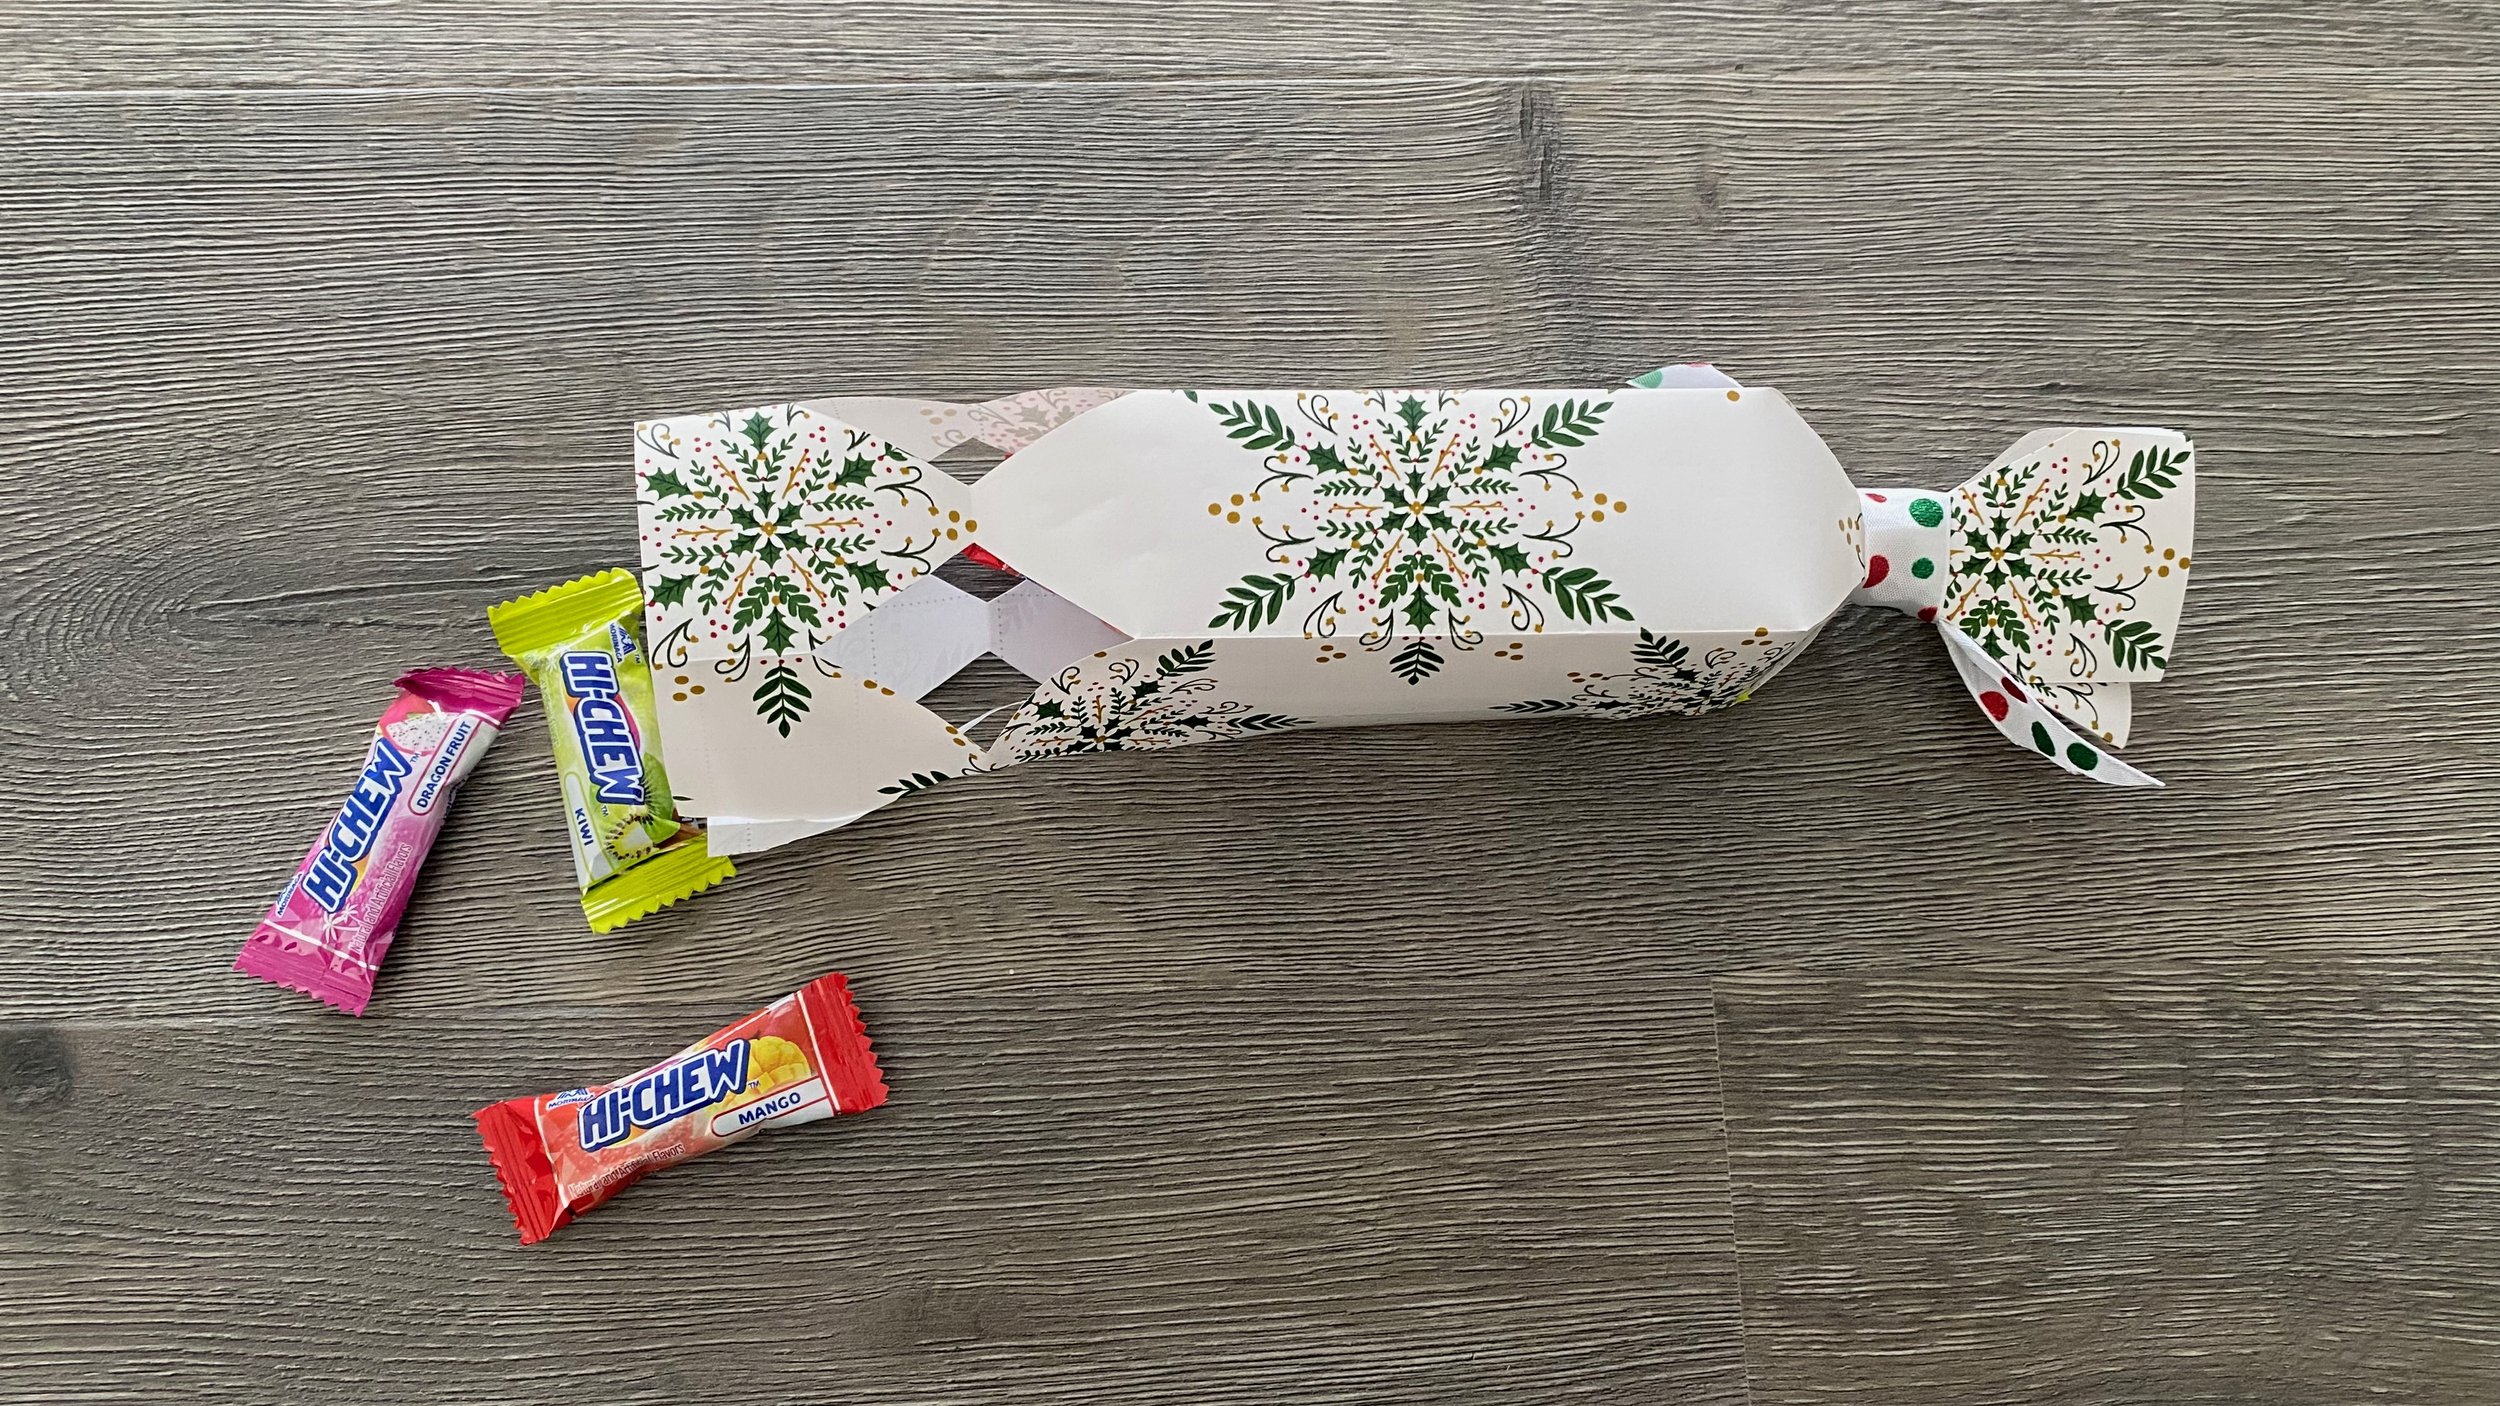
8. Tie one side with a ribbon and insert the content into the cylinder.
9. Tie the other side with a ribbon to close it completely and you’re done!


